
A6 Tri-Fold Leather Journal Cover – Free PDF Pattern

If you’ve been wanting to make your own leather journal cover, this is a great place to start.
I designed this A6 tri-fold cover to be simple, functional, and easy to customize. It’s a beginner-friendly project that gives you something you’ll actually use every day.
The full pattern is available as a free PDF download through my newsletter.
Why the tri-fold cover style?
This is hands down my favorite cover style. It protects not just the spine of your journal, but the open edges too. I carry mine everywhere, so that extra coverage really matters.
With this template, you only need to make one cut on a 12”x 12” piece of leather, which keeps the process simple and really approachable; anyone can do this DIY!
What’s included in the PDF Download
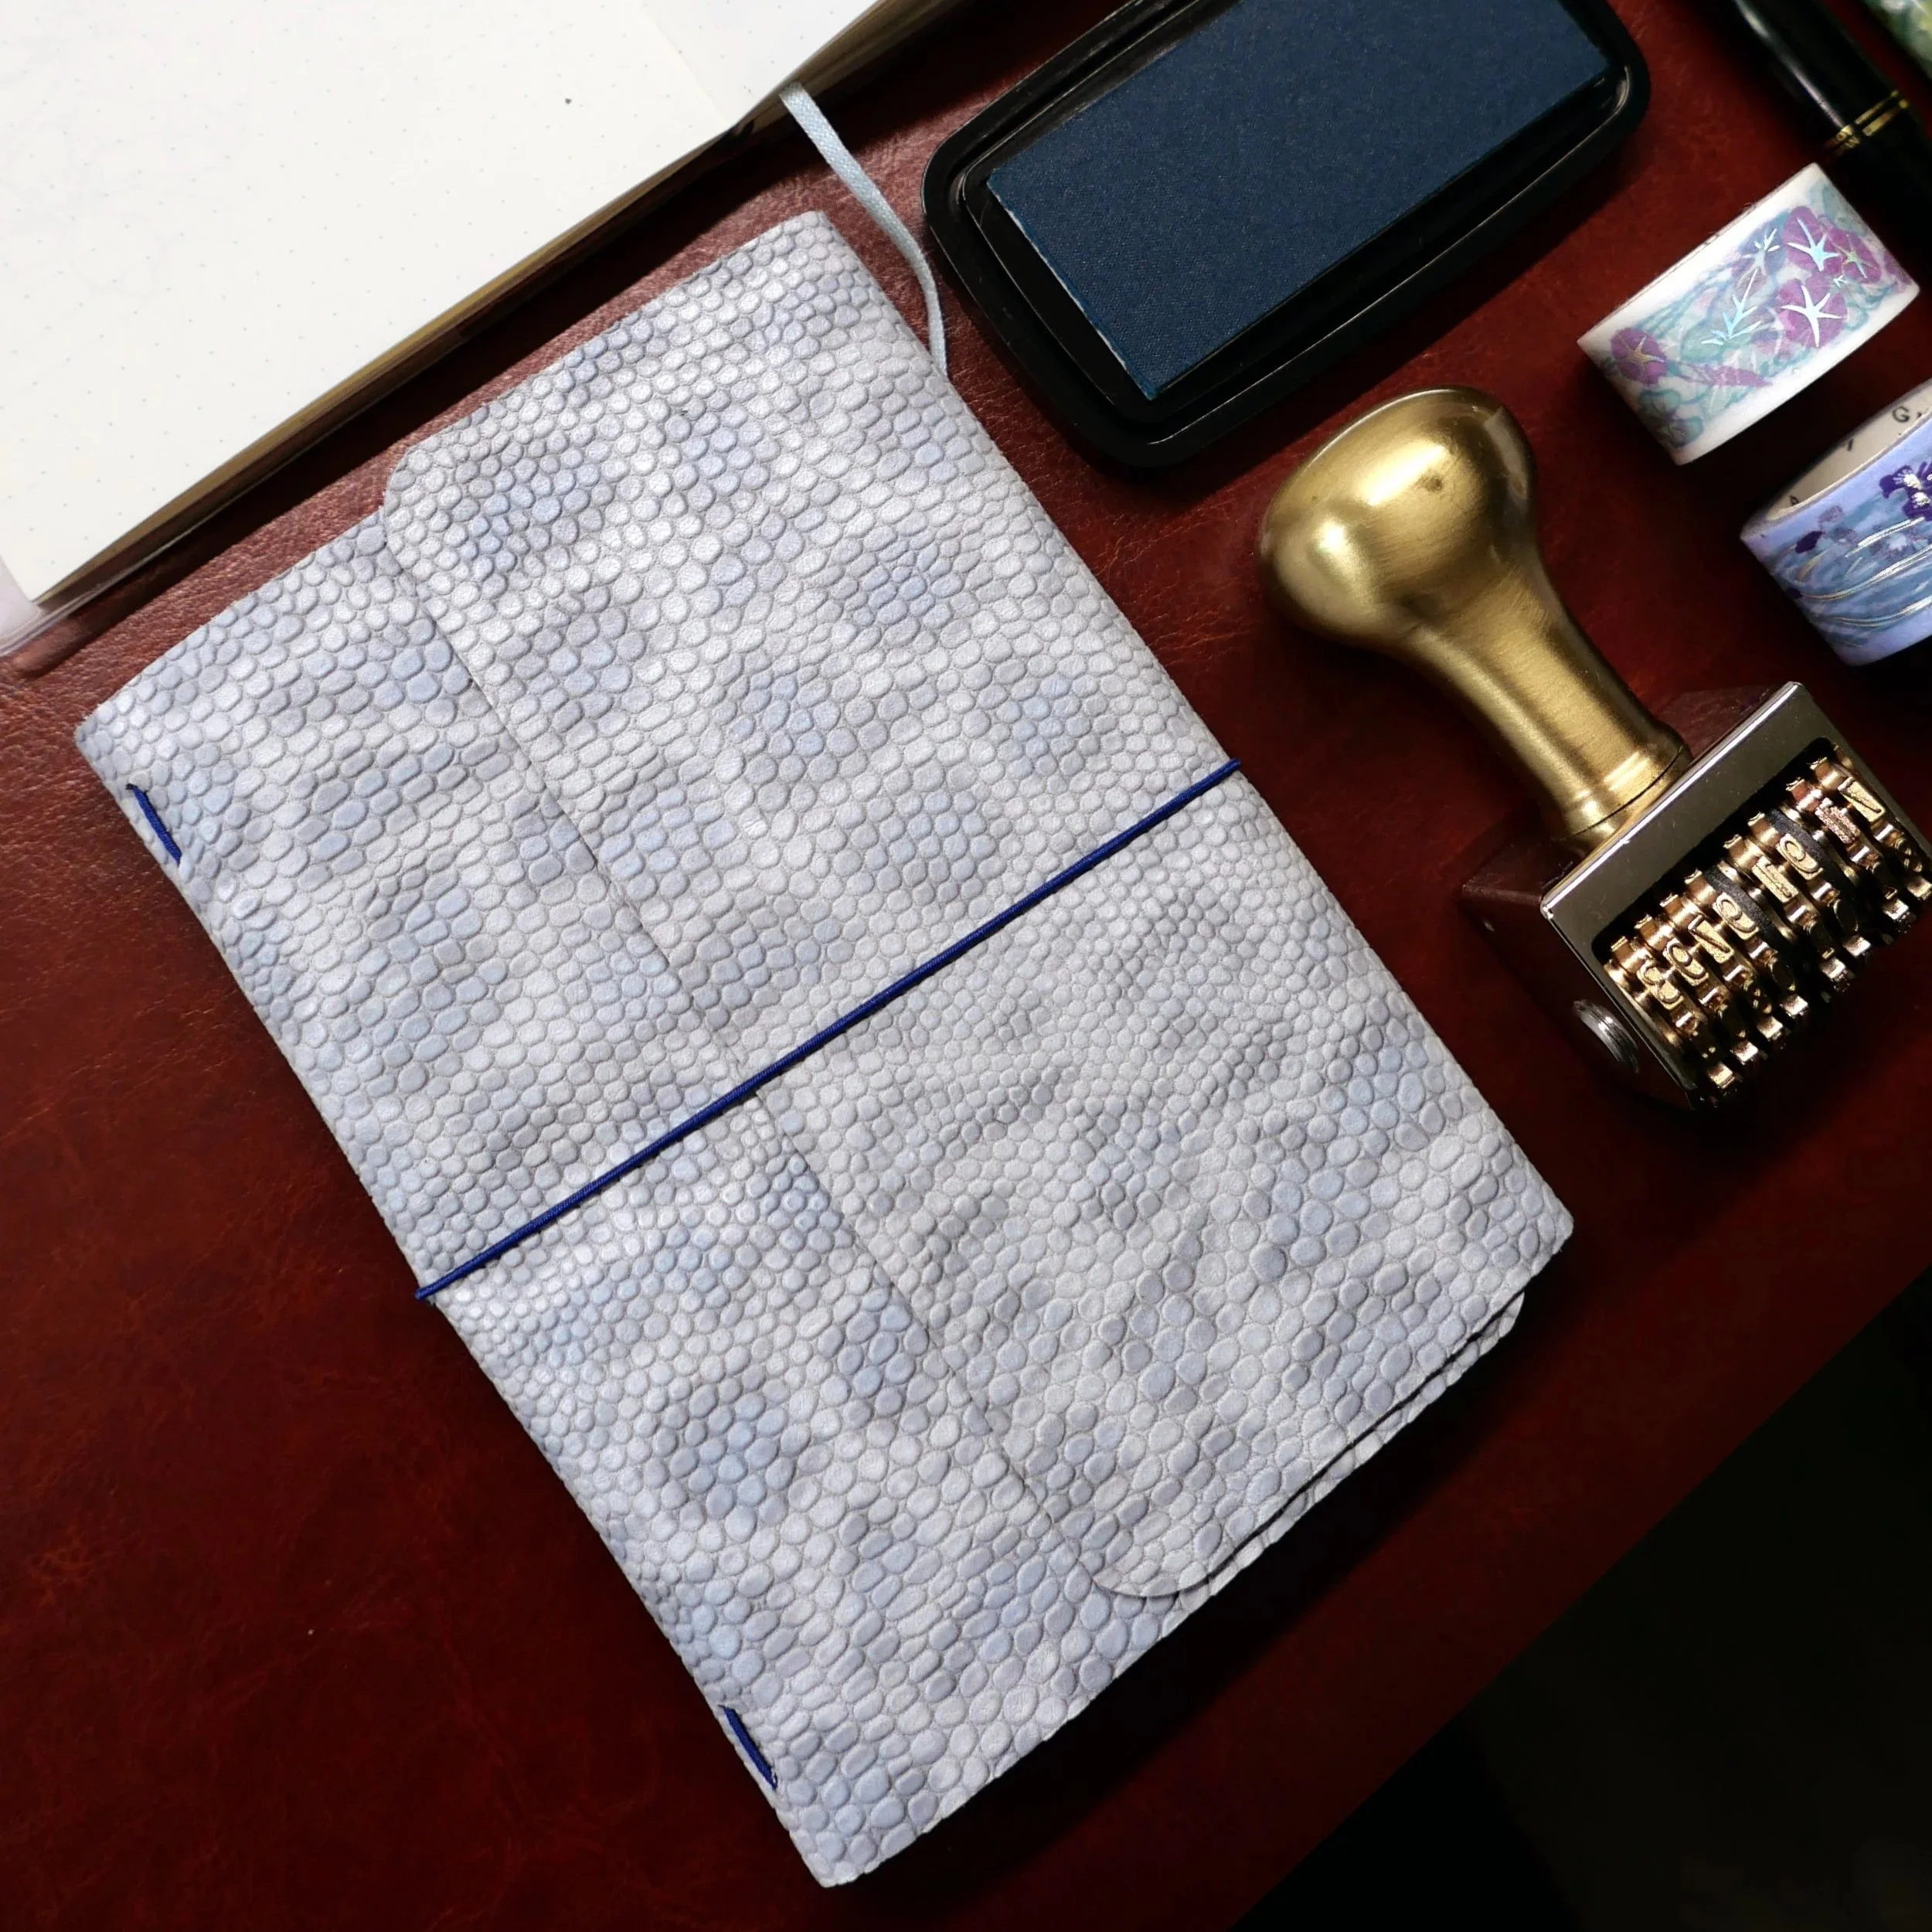
This pattern is sized specifically for two A6 Midori notebooks with clear covers (individual journal measurement:" 10.5 × 14.8 cm | 4.13 × 5.83 inches). It’s flexible if you like a carry only one journal or two for an journal ecosystem setup.
Printable A6 tri-fold template (2 pages)
Option for square or rounded corners
Hole placement guide
Note: The template is provided as a printable PDF. You can print it many times as you like, but the file itself is not editable. When printing, make sure your settings are at 100% scale for accurate sizing. I’ve included a 1-inch test square so you can double-check before cutting.
You’re welcome to use this design to make and sell finished products. Please don’t redistribute or share the template itself—thank you.
x Izza
Skill level
This is a very beginner-friendly project.
There is no sewing involved. Just cut your leather and punch a few holes. If you follow along with the tutorial video, you should be able to complete it without any trouble.
Project Materials
I’ve linked the materials I used below (some are affiliate links):
A6 Midori notebook (Grid | Blank | Dot | Line | Clear Cover)
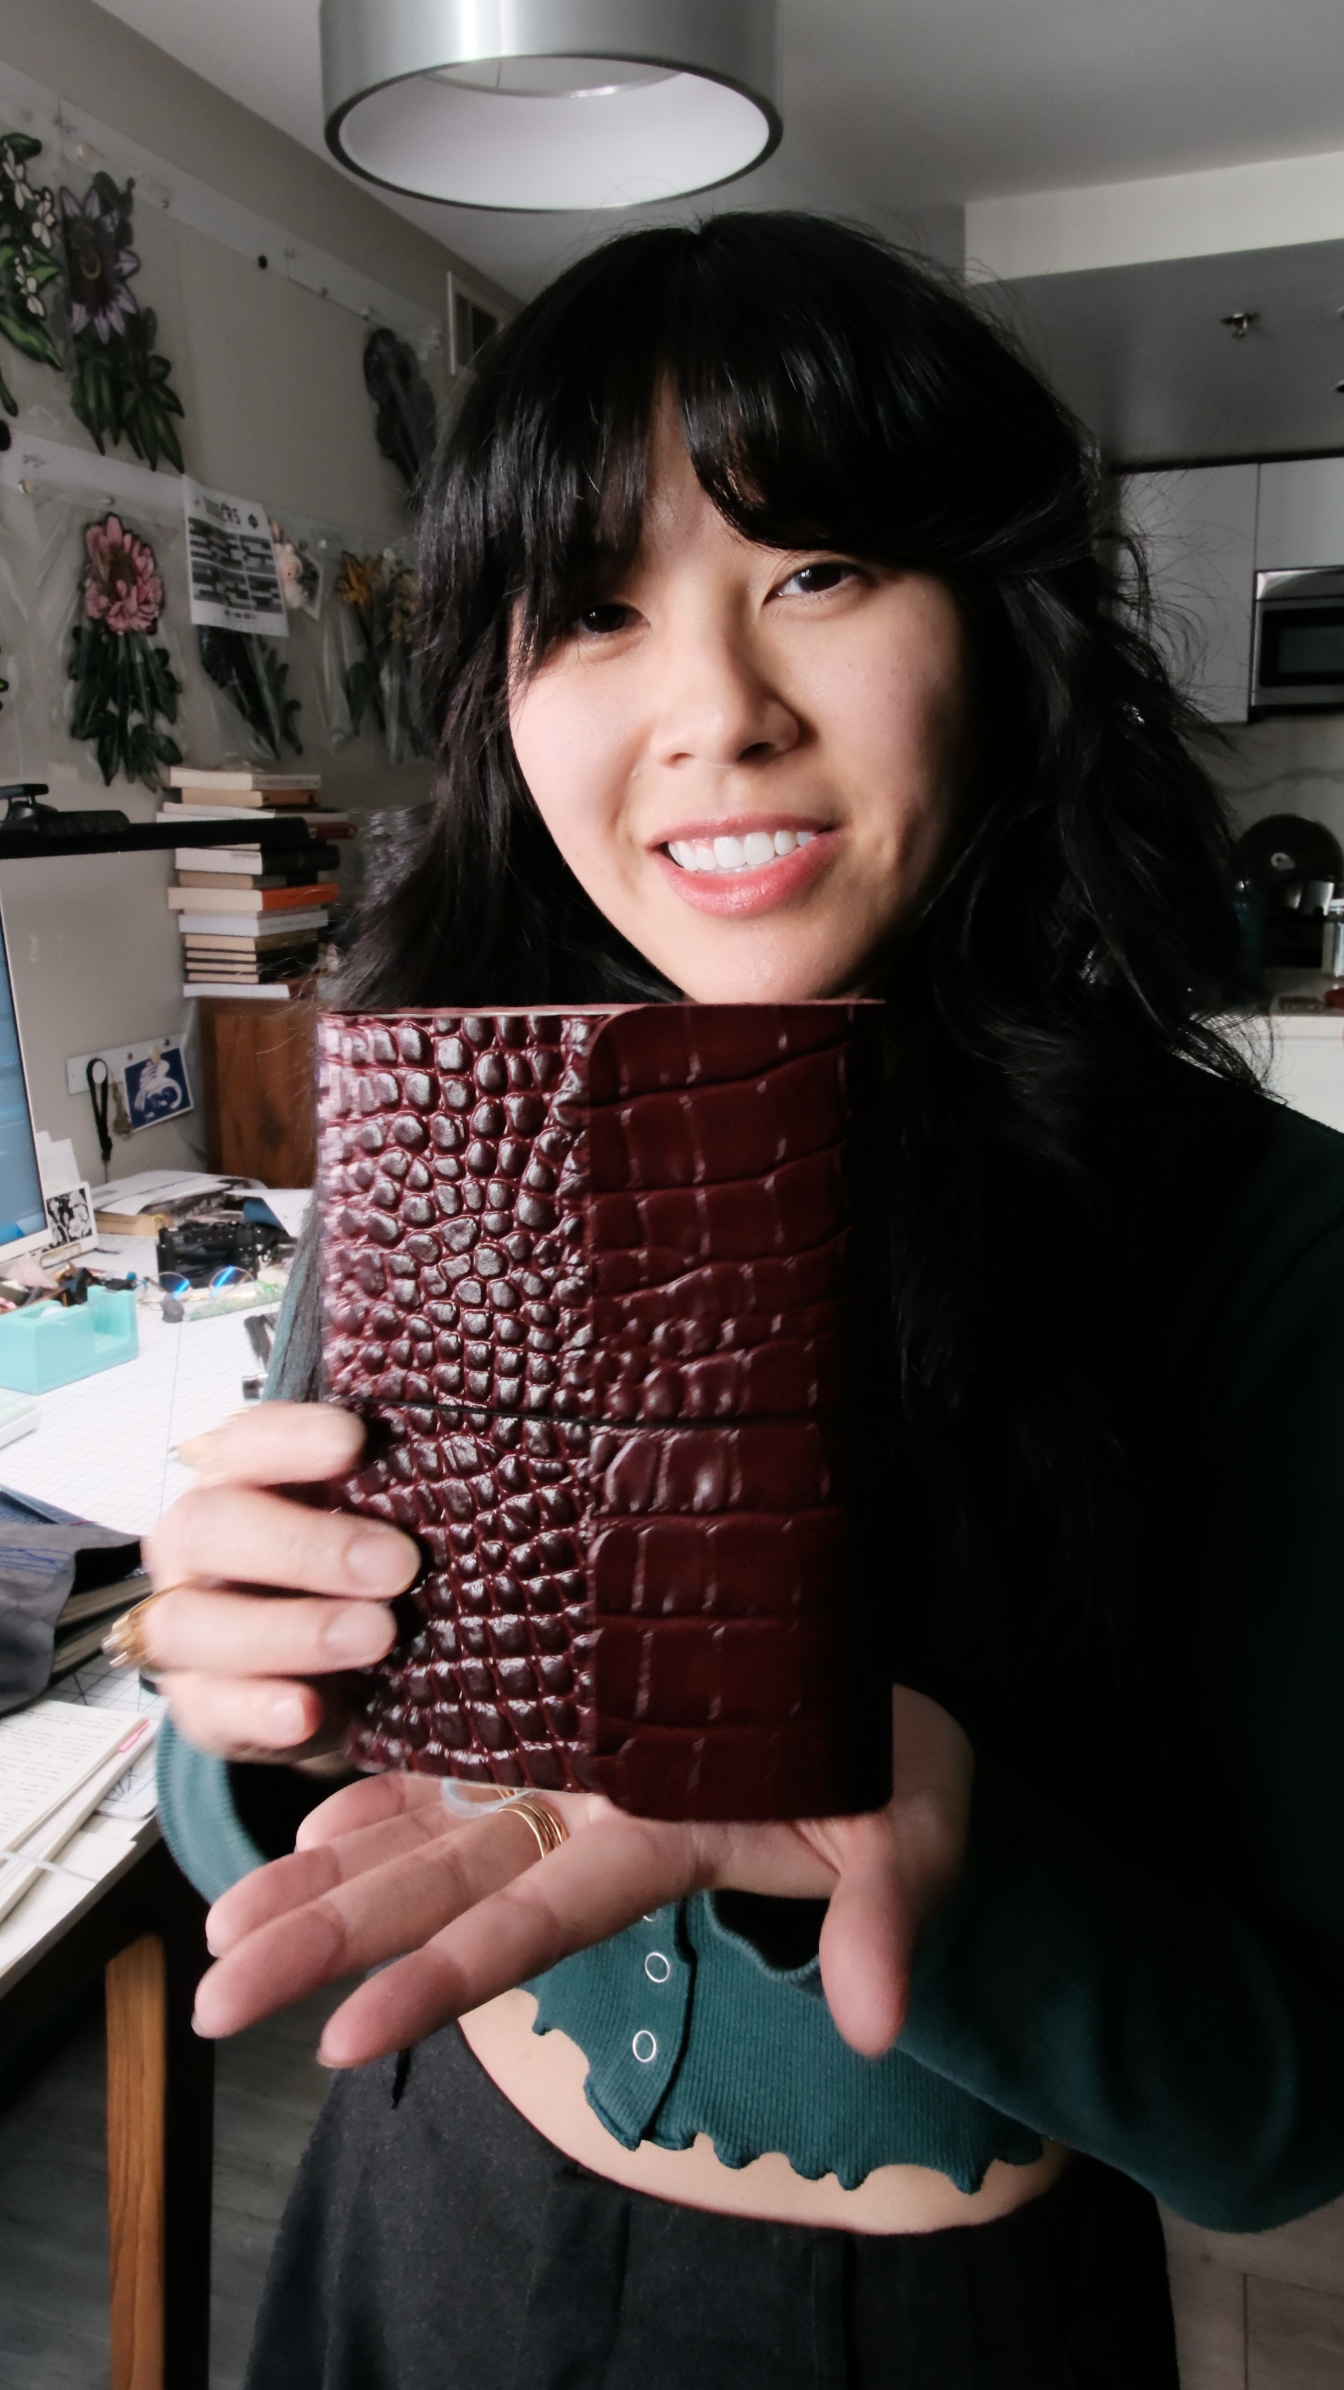
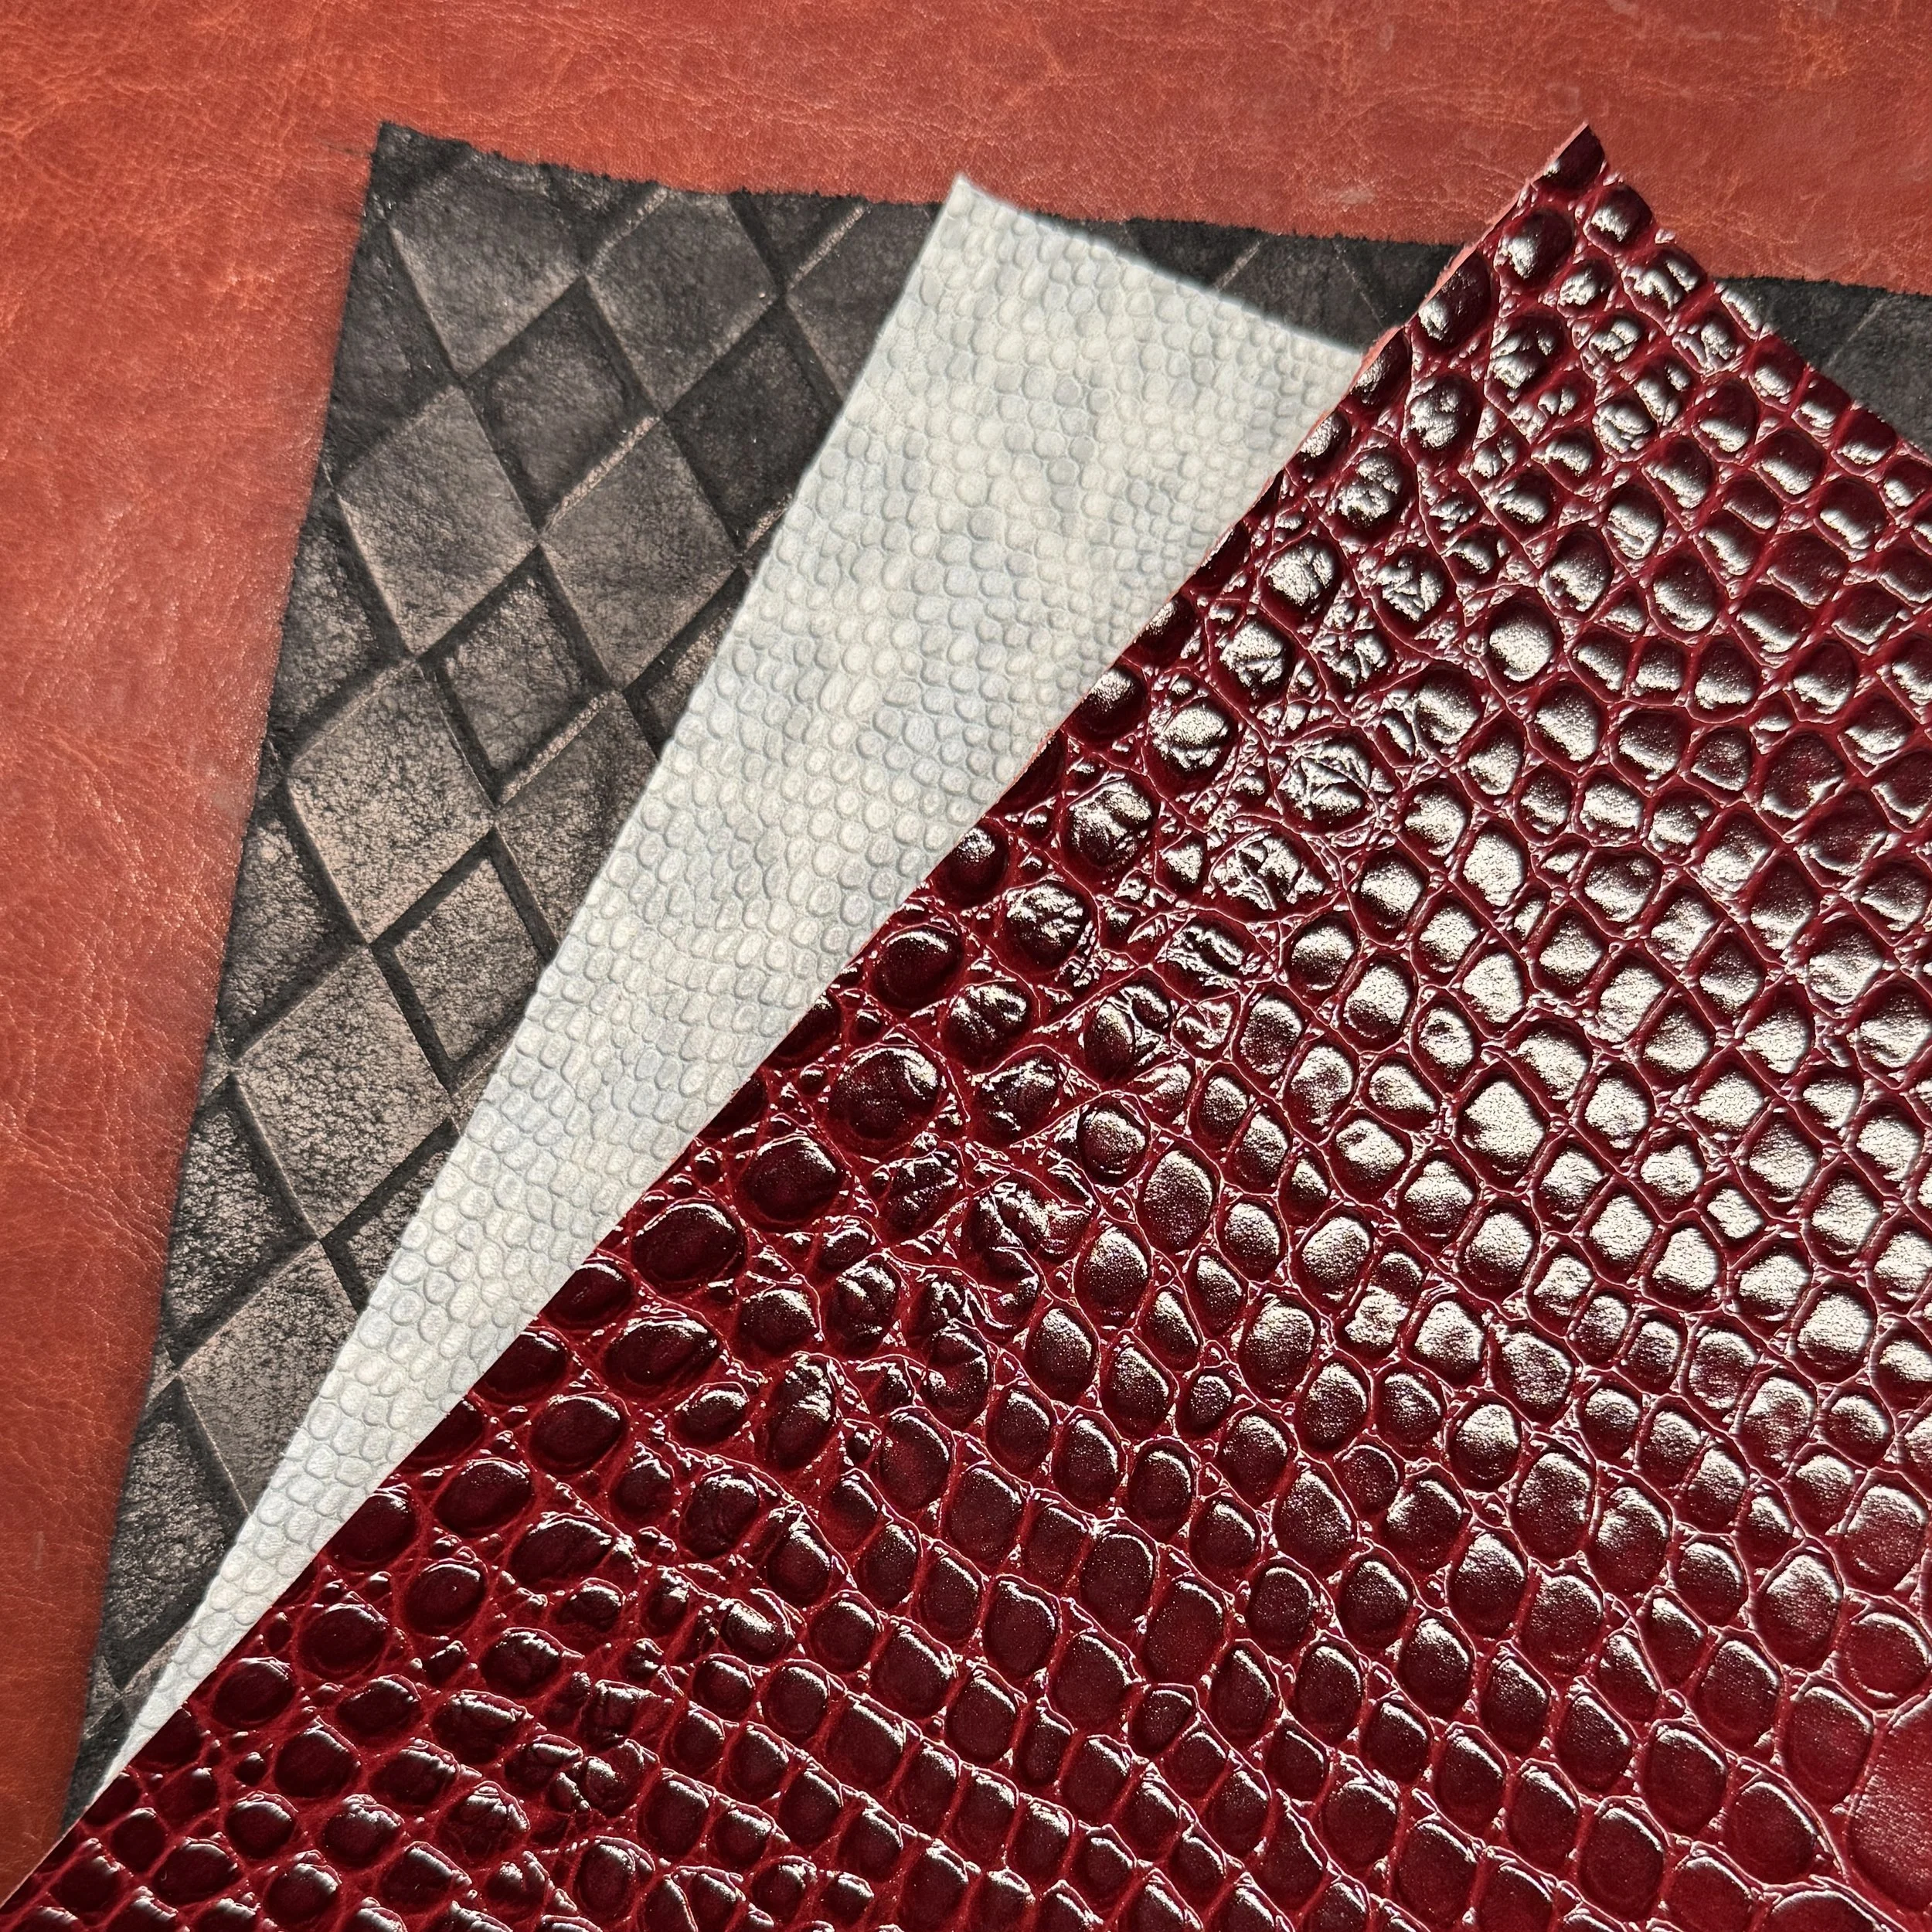
Leather: 12 × 12 in | 30 × 30 cm (Etsy Seller- Ita Leather Shop | Rocky Mountain Leather Supply)
Elastic cord (1.5 mm or 2mm if you prefer a thicker feel)
Lighter, to close elastic
Optional but recommended:
Self-healing cutting mat (36″ × 24″)
Arc-shaped leather punch (for rounded corners)
Binder clips to hold the template to your leather
Elastic Cord Crimp, instead of tying off the elastic you can use this
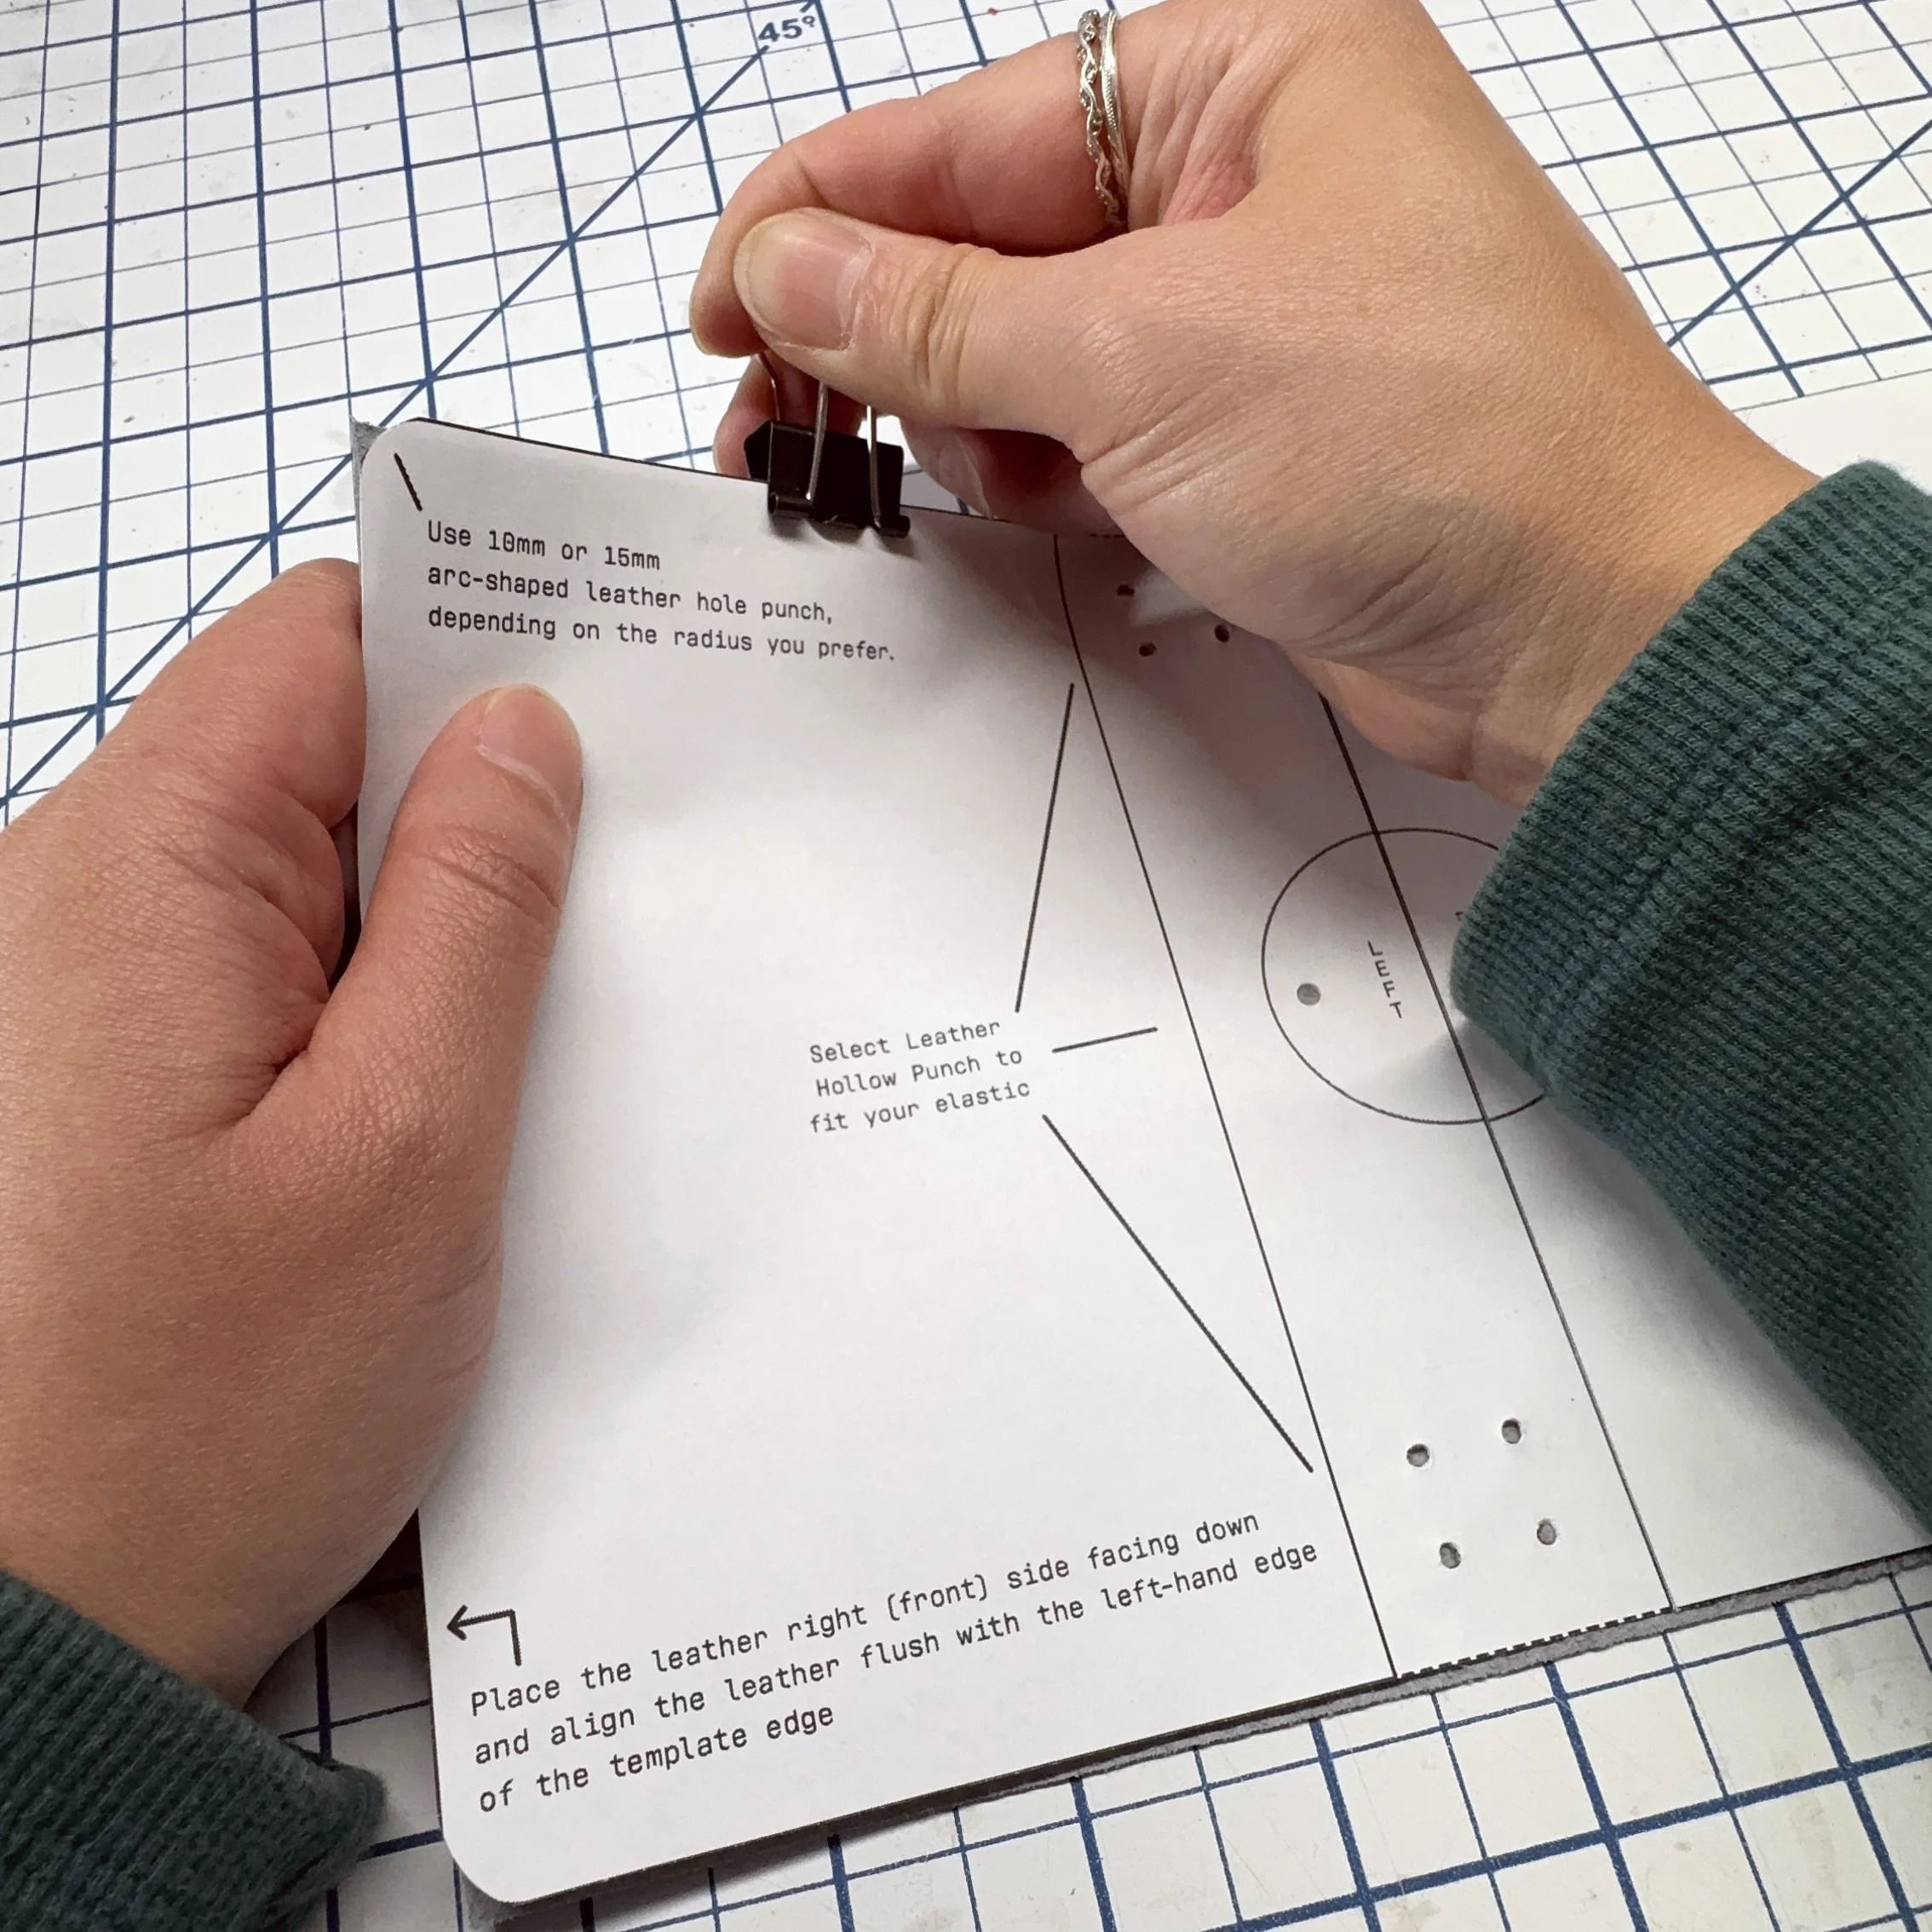
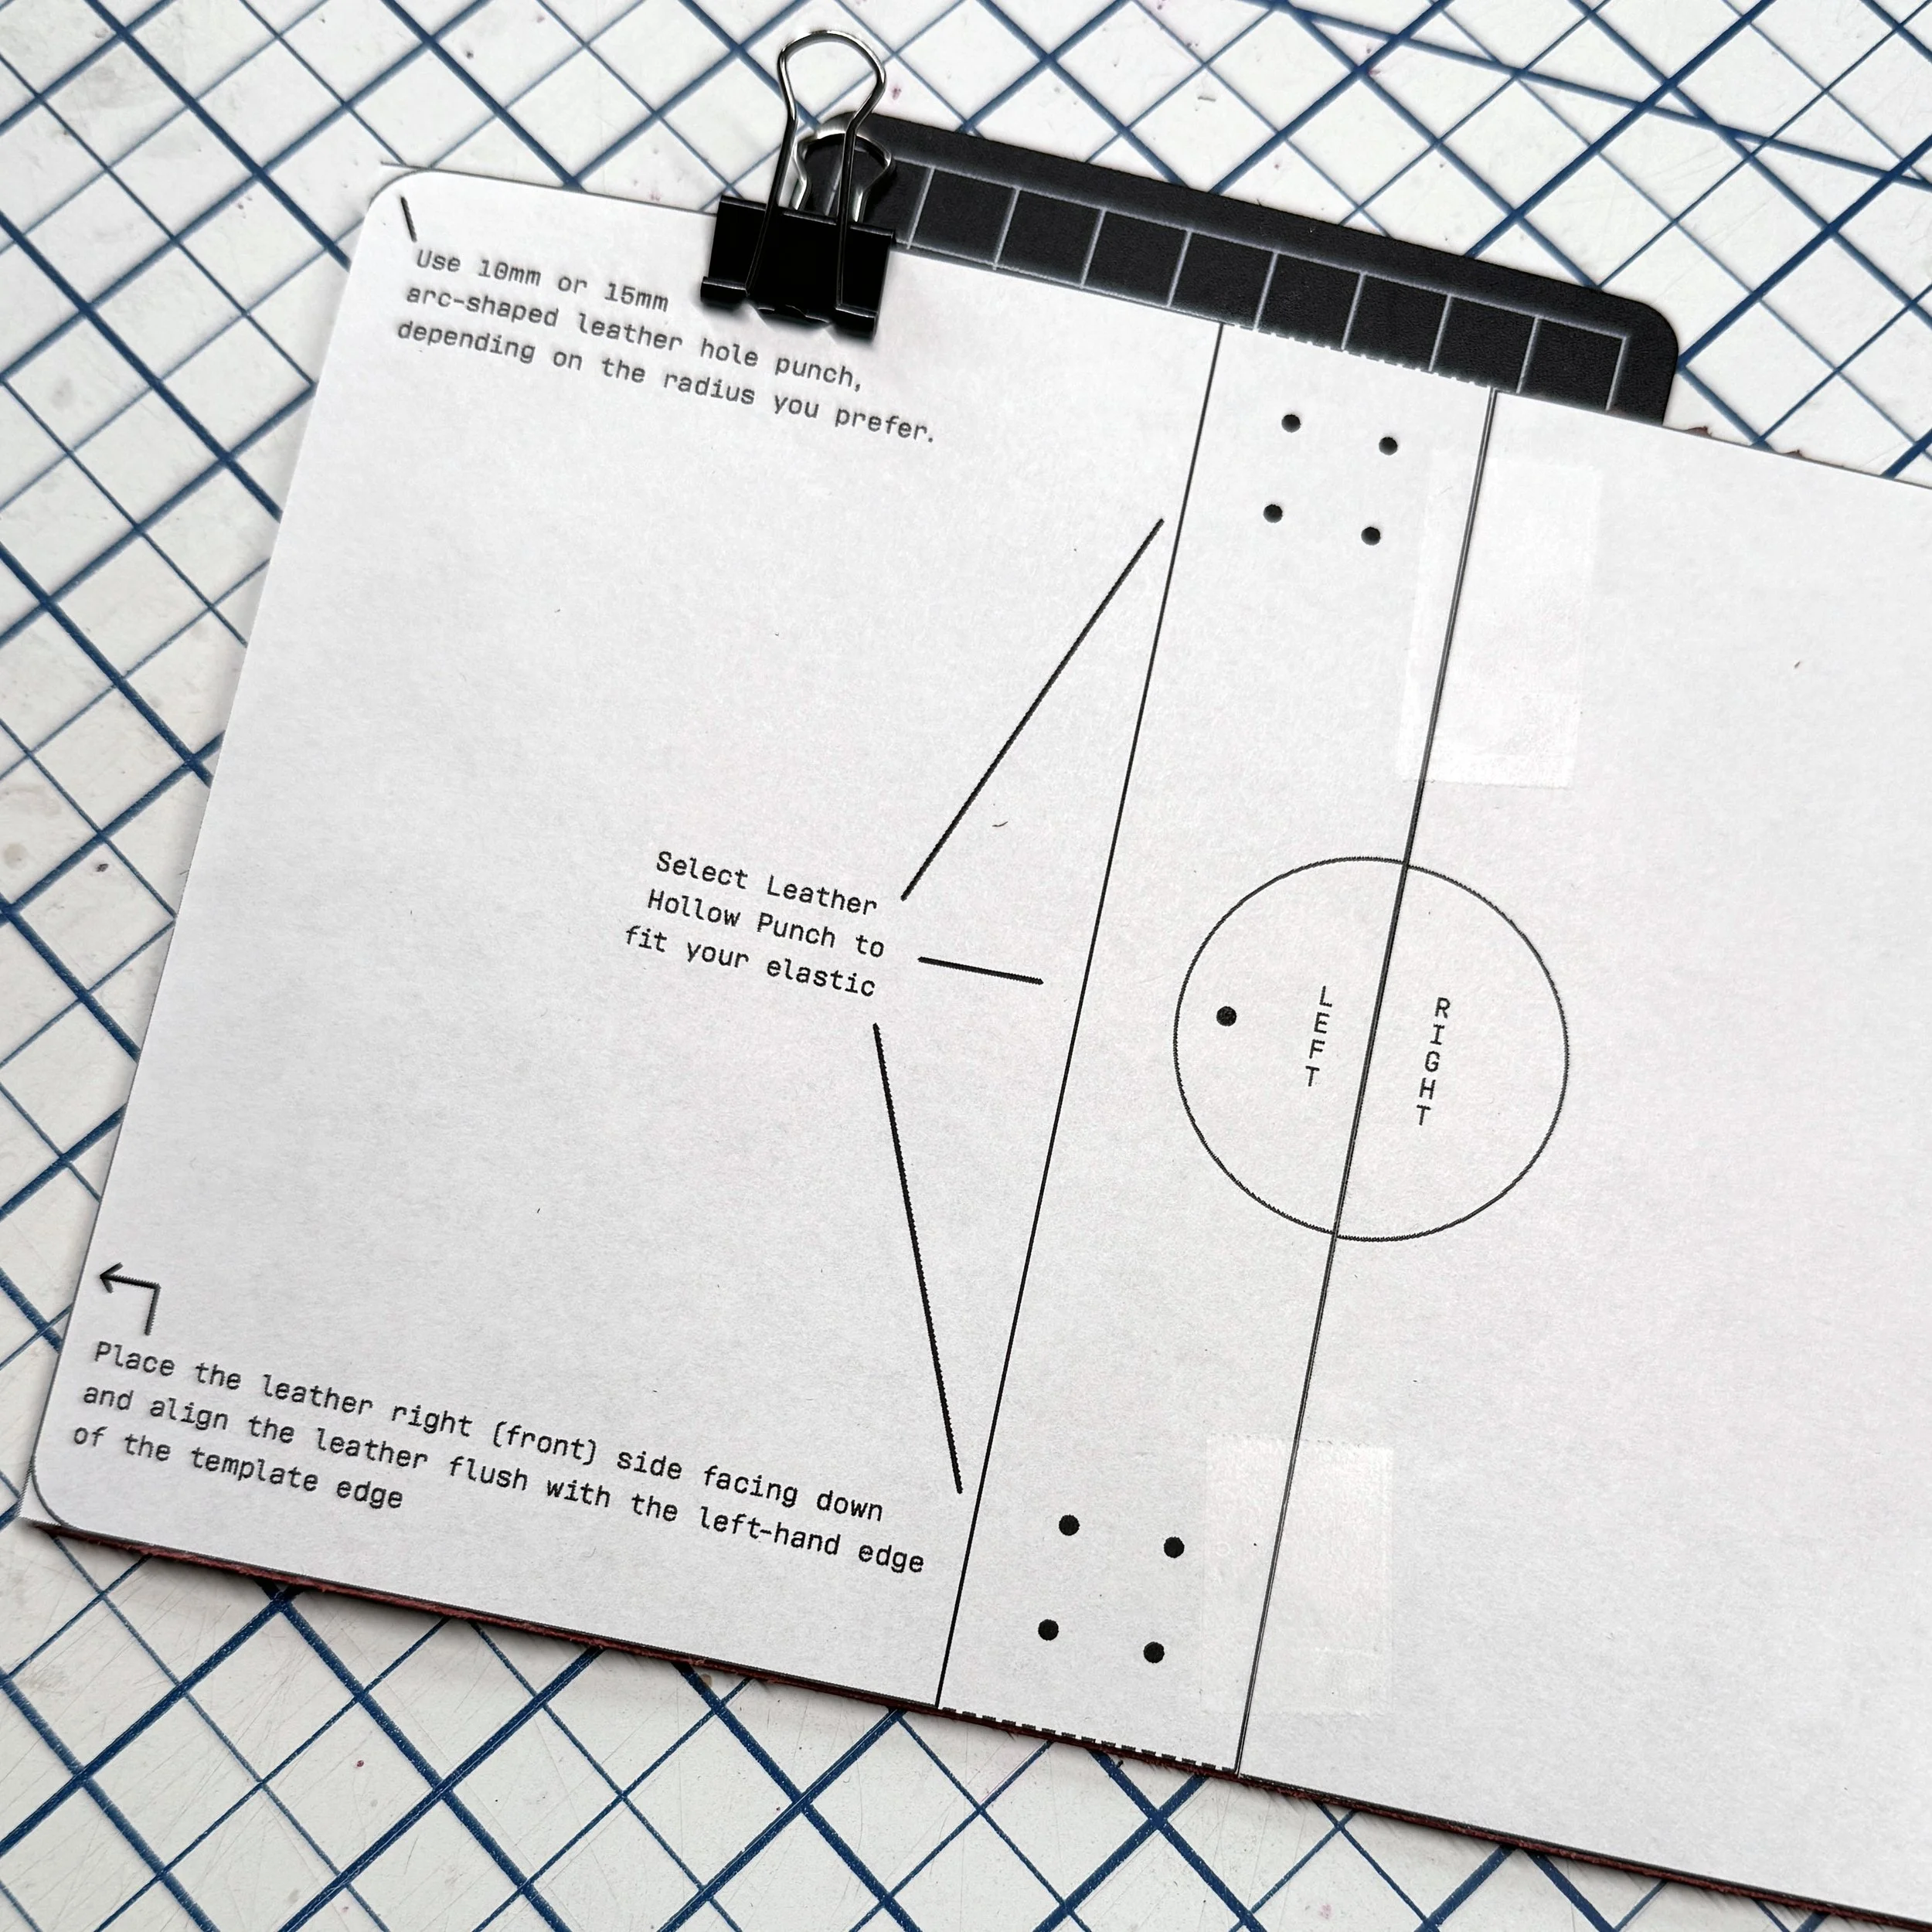
Template assembly & instructions
Step 1 – Print
Print the template at 100% scale. Use the included 1-inch square to confirm accuracy.
Step 2 – Trim & tape the template
Cut out both pages, then tape them together along the seam. Line up the circle carefully.
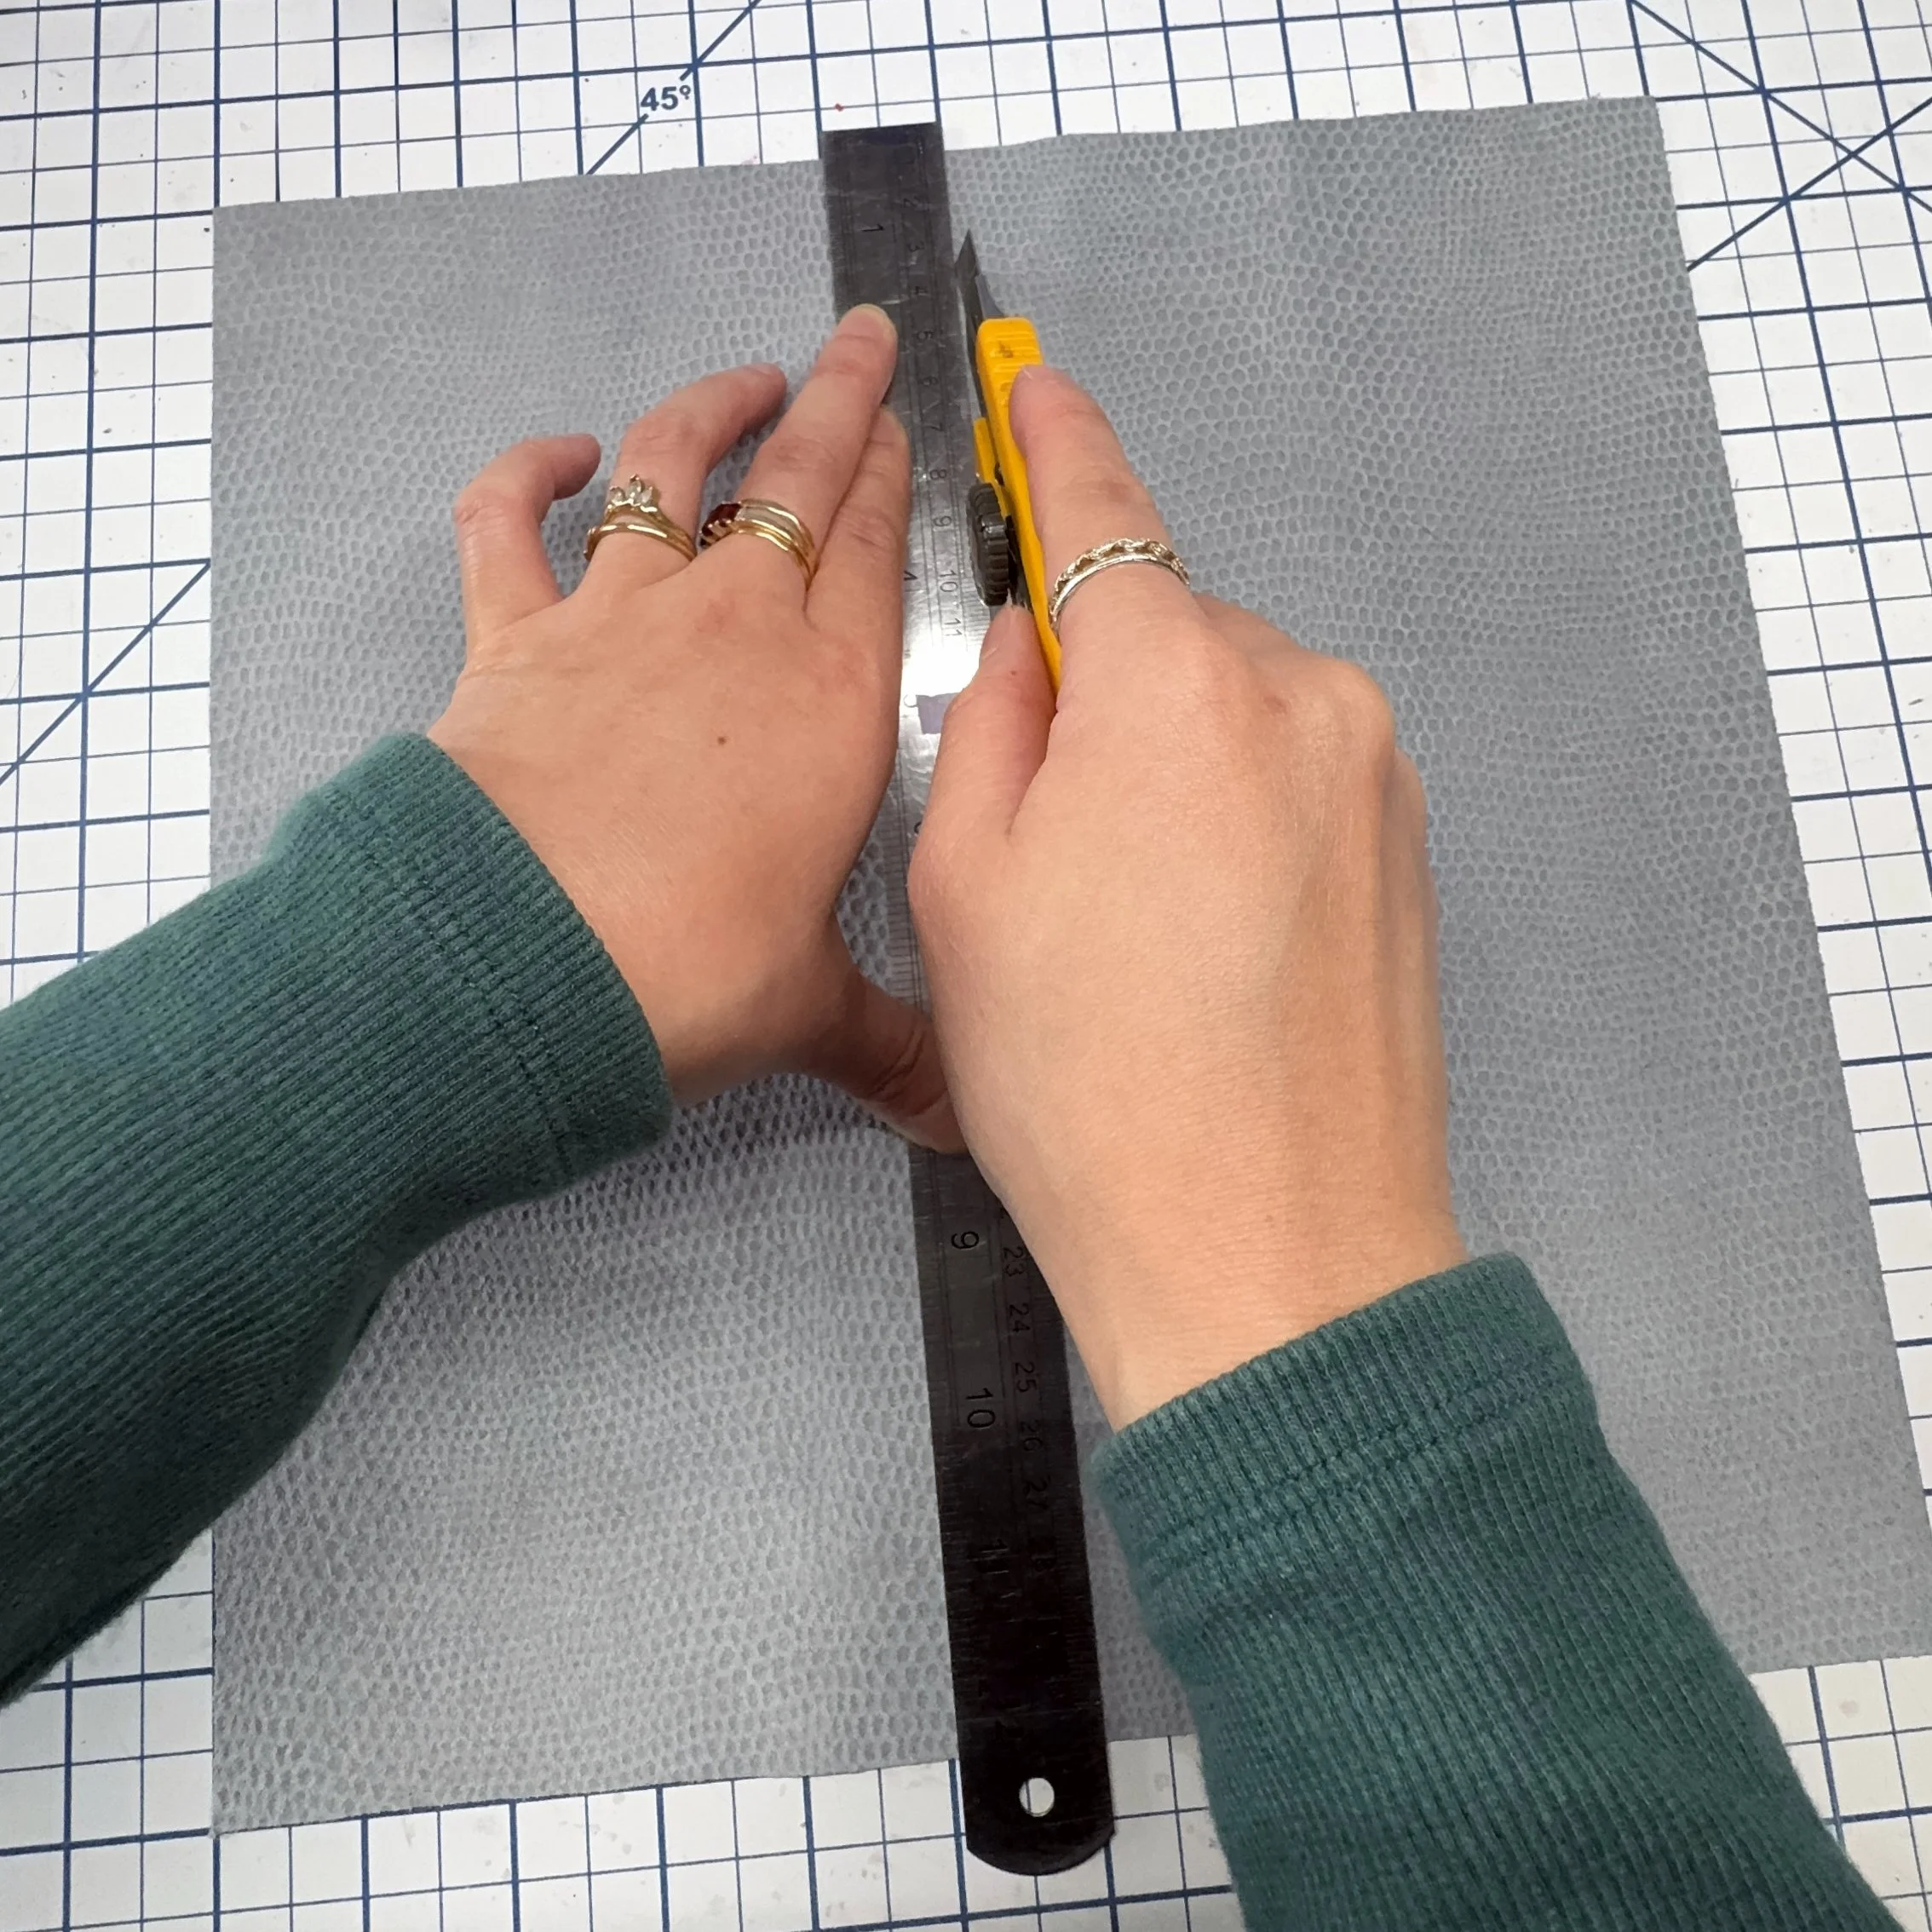
Step 3 – Prepare the leather
If using a 12 × 12 piece, trim it down to 6” (h) × 12” (w). You can get two covers from one sheet.
Step 4 - Punch the holes
Use the template as a guide and punch all five holes. Match your hole size to your elastic thickness.
Step 5 — adding the elastics
Once you’ve chosen your elastic color, cut your lengths then use a lighter to gently burn the ends to prevent fraying. Elastic lengths:
Two 12 inch long elastic segments for the journal inserts
One 9.5 inch long elastic segment for the outer closure
Outer closure elastic
Thread the elastic through the center spine hole, going from inside to outside, then back in so both ends are on the inside.
Secure the ends:
With a metal barb: place both ends into the groove and clamp it tightly.
Without a barb: simply tie a tight knot and trim the elastics if needed.
Insert elastics (for journals)
Start from the inside, threading the elastic into the top spine hole (inside → outside).
Bring it down and thread it from the outside to the inside (outside → inside).
Loop it back by inserting it into the top bottom hole (inside → outside).
Both ends should now sit on the inside cover bottom hole—tie them together to secure (outside → inside → tie off)
Repeat for the second insert elastic and trim the elastics if needed.
Add Charms (optional flare)
While you are threading your elastics, this is the perfect time to add charms to the outer cords.
You can slide them on before securing the ends, which makes it easy to customize your cover and give it a more personal feel.
Step 6 - Add your inserts
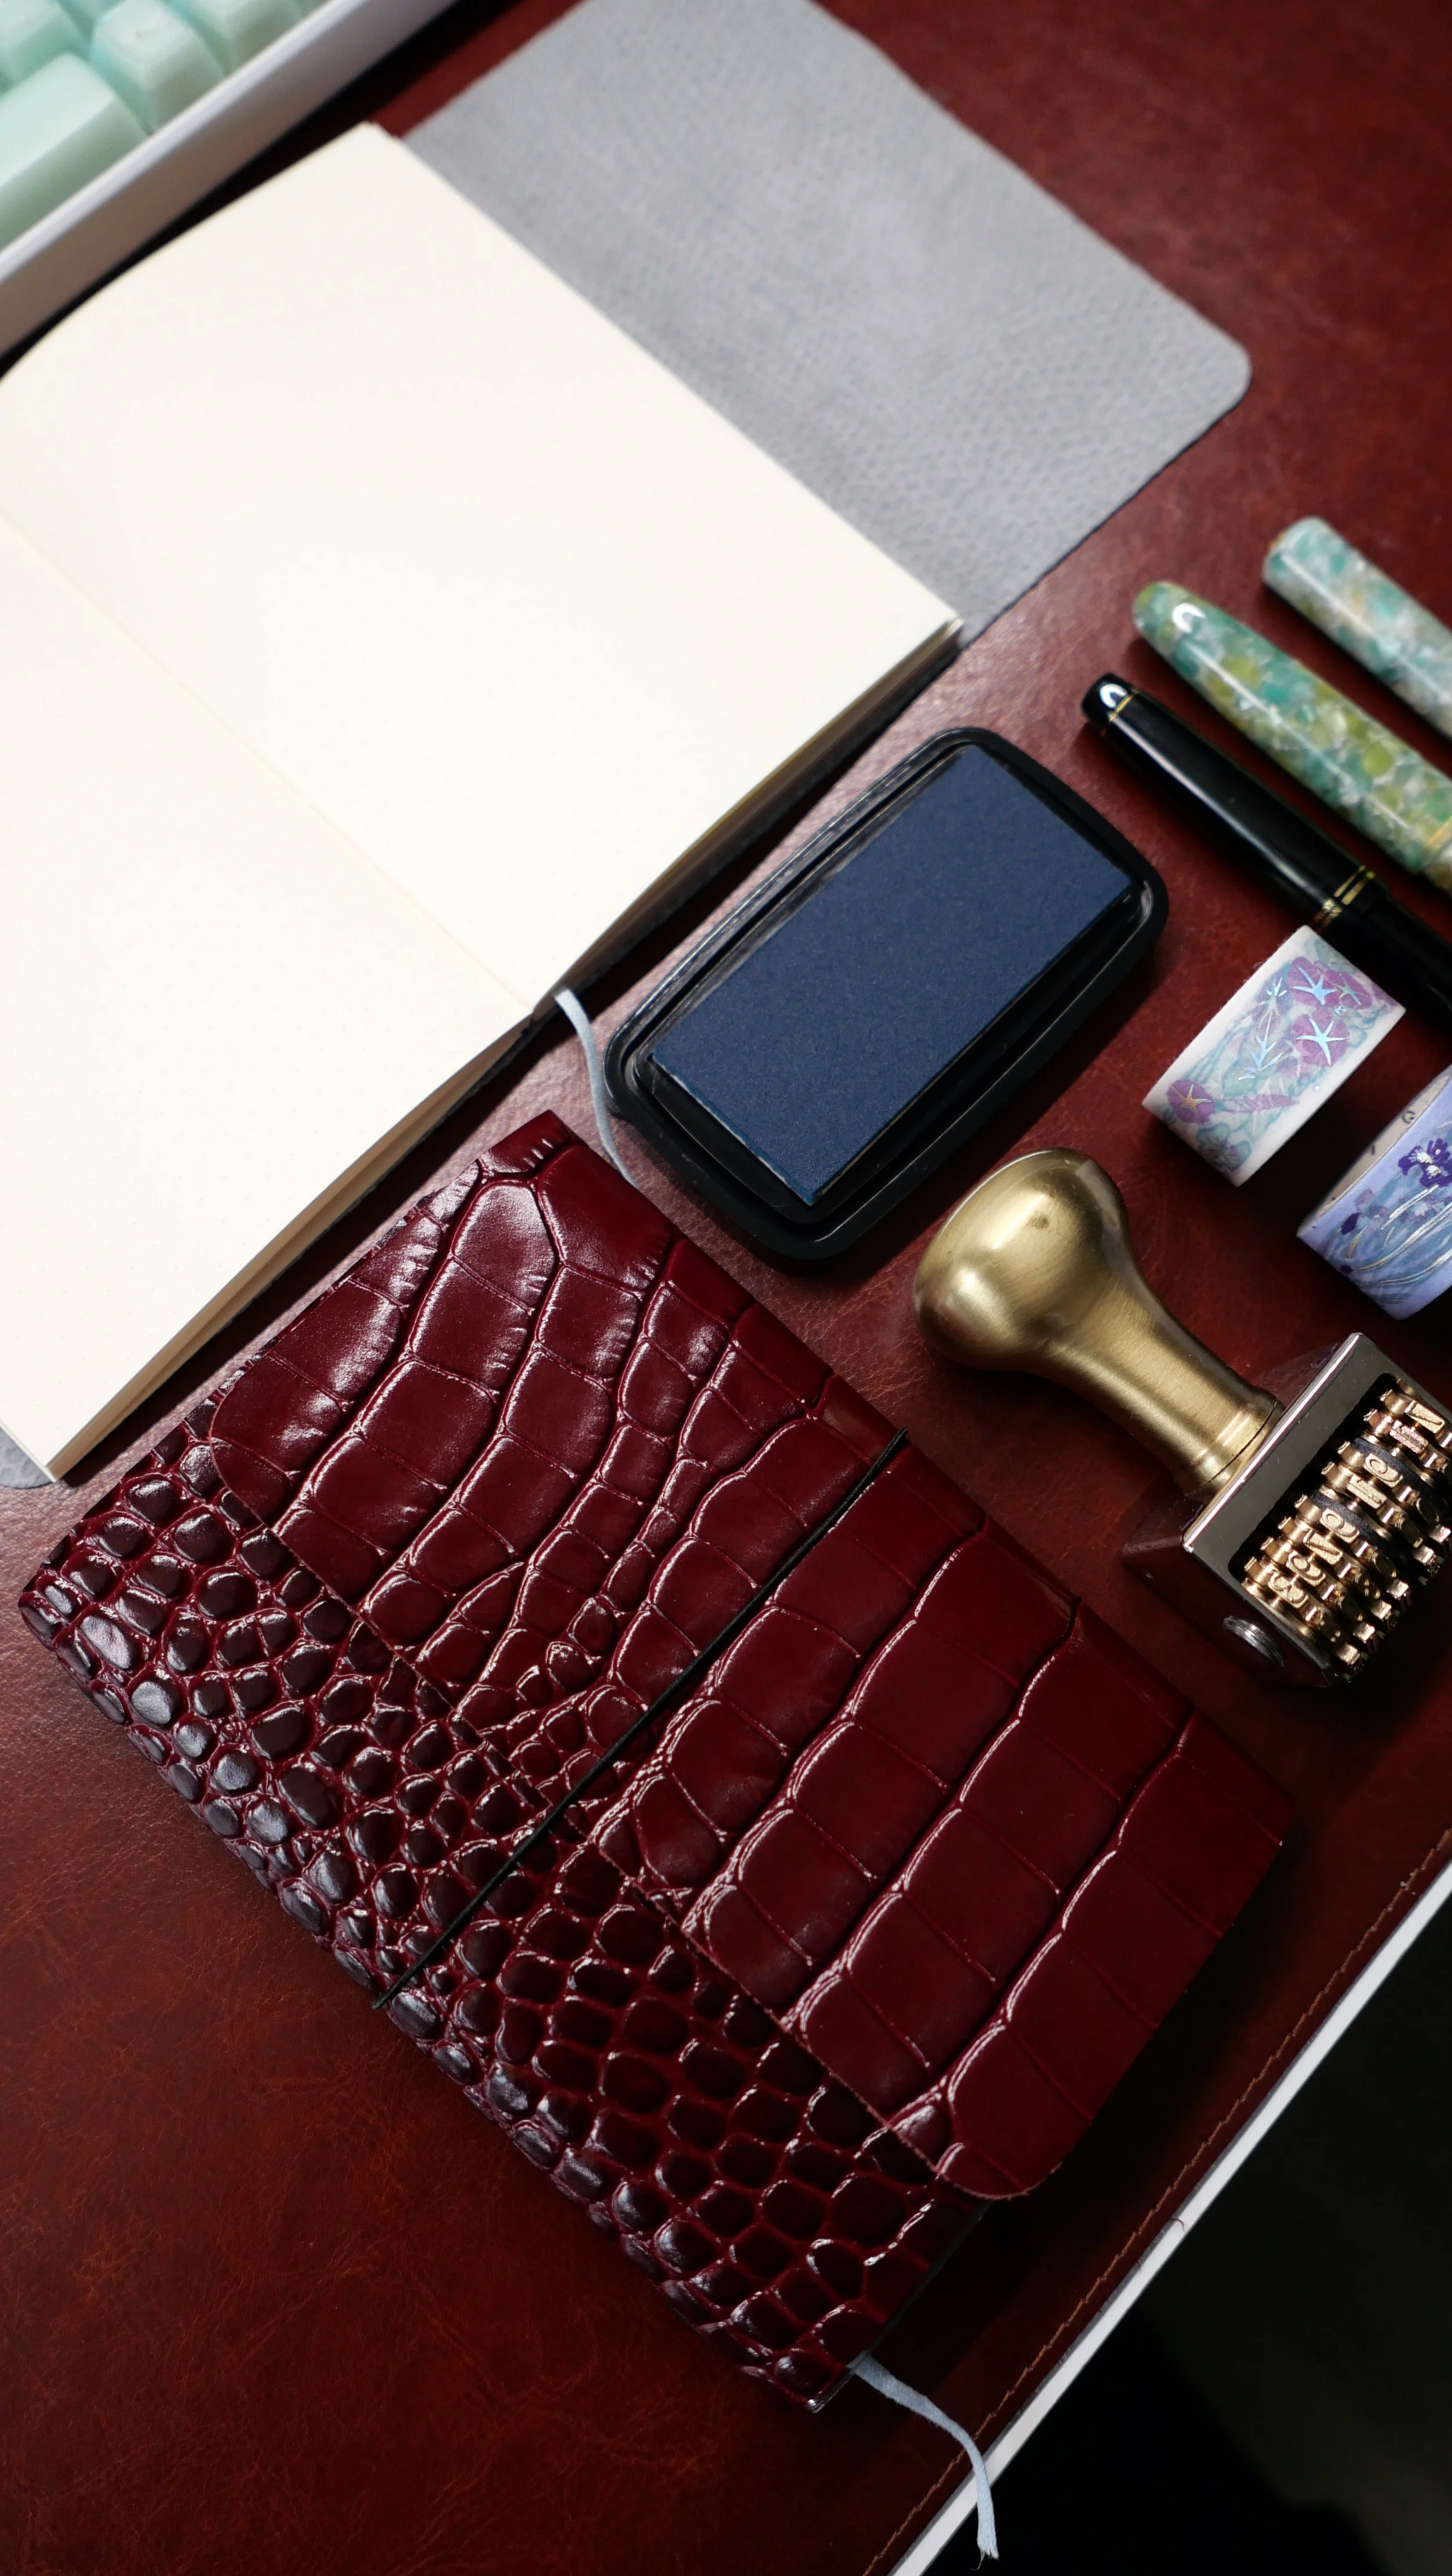
This is where it all comes together! Whether you are using one insert or a few, this is when the cover starts to feel like your own little ecosystem.
I like having a bit of extra room to grow, so I designed this A6 template to comfortably hold two A6 MD notebooks or a mix of thinner inserts. It gives you flexibility to keep things simple or build it out over time as your system evolves.
Frequently Asked Questions
-
This template is designed specifically for an A6 Midori-style journal but you can use other A5 journal types or smaller notebooks.
-
This template is specifically designed for 2 A6 Midori MD notebook A6 but you can scale it if you’d like to get creative. I’d recommend adjusting measurements carefully to keep the proportions working, good luck!
-
Double-check your printer settings are at 100% scale. Use the 1-inch test square included in the template before cutting. The template is pretty forgiving so you should be able to trouble shoot
-
Yes, just stay within the recommended thickness range for best results.
-
Nope! It’s optional. You can keep the corners square if you prefer that look.
-
Yes—just add more inner elastics. That’s why I like the flexibility of a trifold journal cover, you have some room to add additional inserts to make your journal ecosystem work for you!
-
Yes. Just please do not share or redistribute the pattern itself.
.
Other info
Leather selection & thickness
For this project, I recommend using vegetable-tanned leather. Look for something medium to firm that can hold its shape when folded. Try to avoid anything too soft or floppy, since it will not give you that structured feel.
Recommended thickness:
1.6 – 2.2 mm
If you are buying online, most shops list approximate thickness. Be sure to double-check individual listings or reach out to the seller if you are unsure.
For comparison:
Traveler’s Factory: ~1.8 – 2.5 mm (4.5–6 oz)
Paper Republic: ~1.5 – 2.5 mm (4–5 oz)
Louise Carmen: ~1.0 – 1.2 mm (2.5–3 oz)
Hole punch & elastic selection
Match your hole size to your elastic cord.
If you are using hardware, adjust your punch size accordingly. Personally, I love the clean, minimal look of a hardware-free cover, similar to Traveler’s Factory.
I’d love to see what you made!
This is one of those projects that comes together quickly but ends up being something you reach for every day.
If you make one, I would love to see it. Feel free to share how it turned out or any tweaks you made in the comments. I am always curious to see how others build out their journal ecosystems.