
Getting started with a Hobonichi planner can feel a little overwhelming. Between the different planner formats, cover designs, accessories, and figuring out which pens to use, it's easy to feel like you're falling down a rabbit hole. So here's my quick guide to help you navigate it all and get you excited about becoming a Hobonichi person!
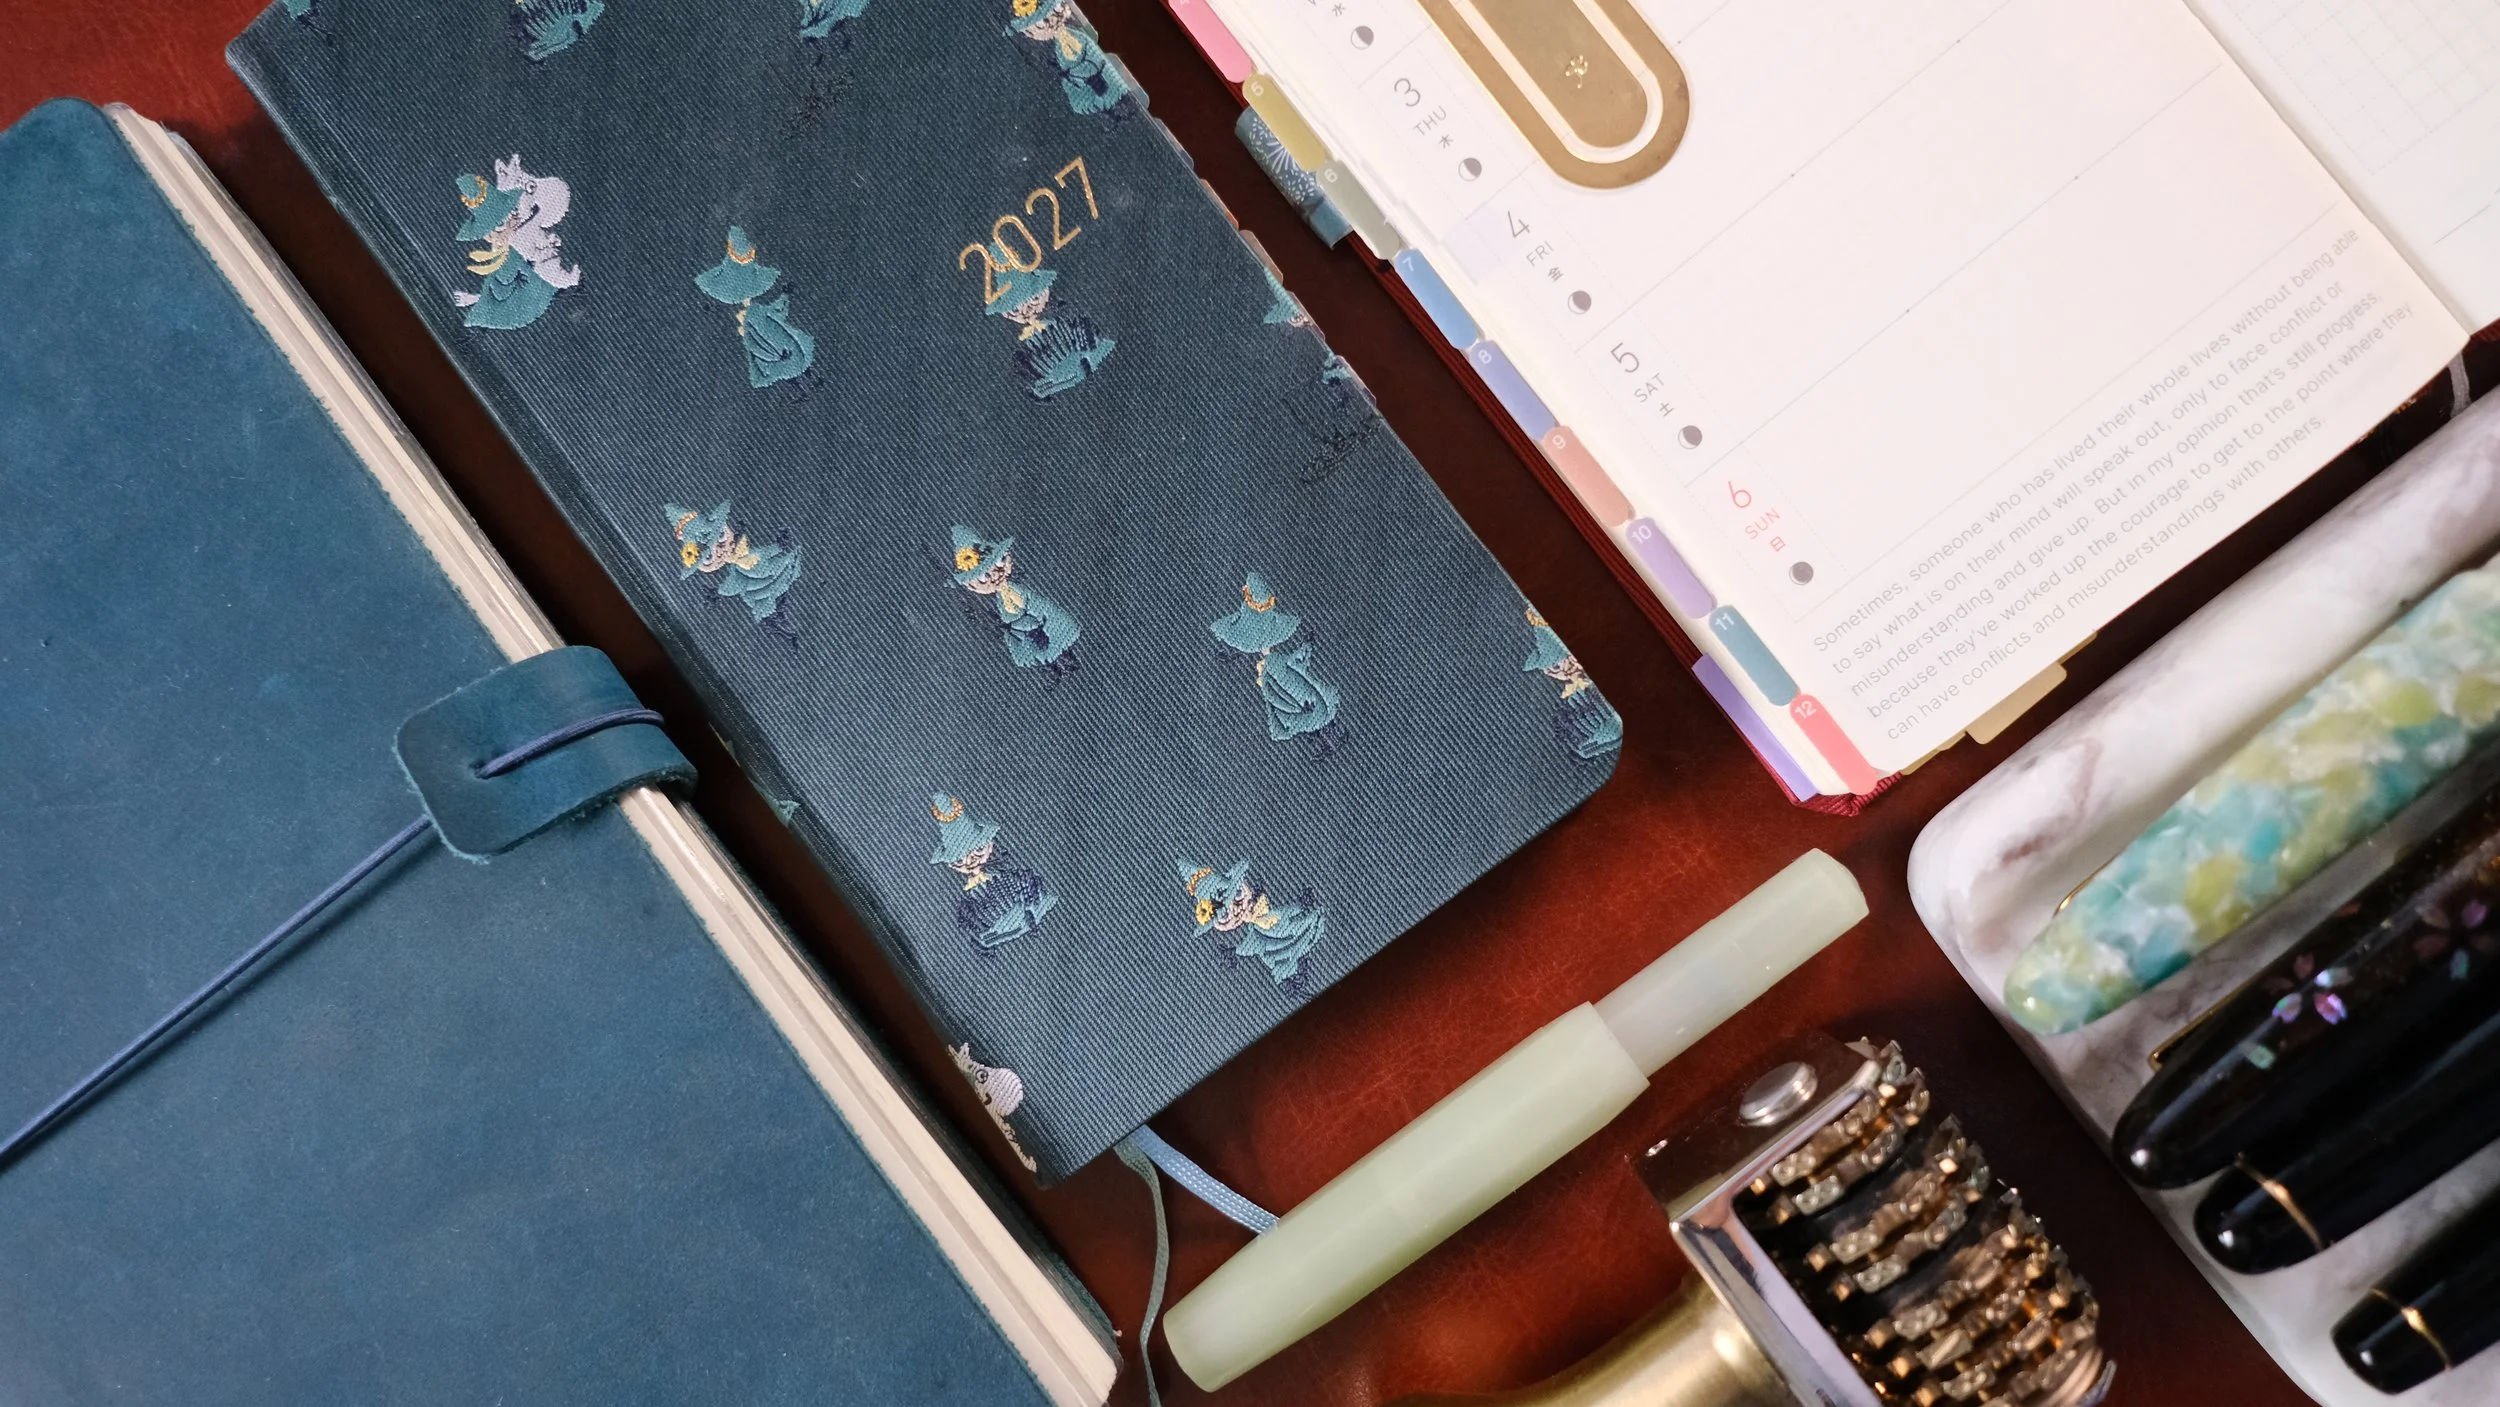
My approach to planning is pretty simple. I want tools that make it easier to organize my days, keep track of important things, and leave a little room for creativity without spending too much time decorating. I'm a minimalist, after all!
If you're starting your first Hobonichi or preparing for a new year, here's what I'd recommend adding to your starter kit.
Choose Your Hobonichi Planner
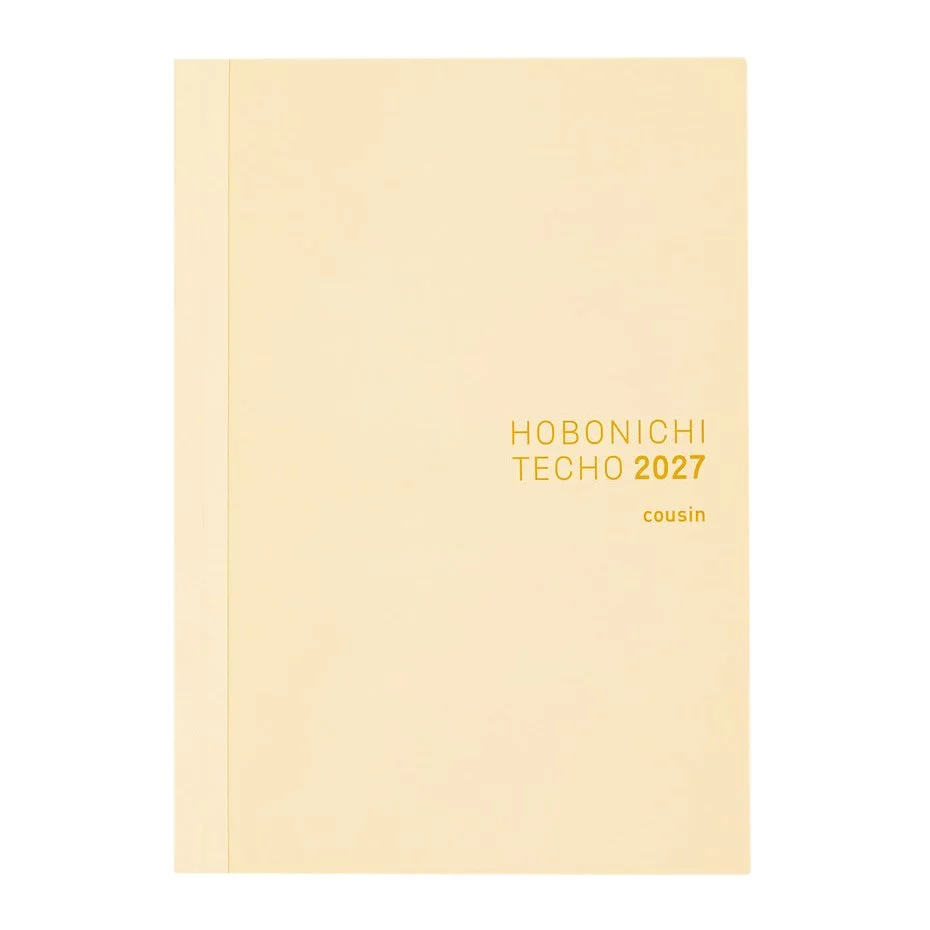
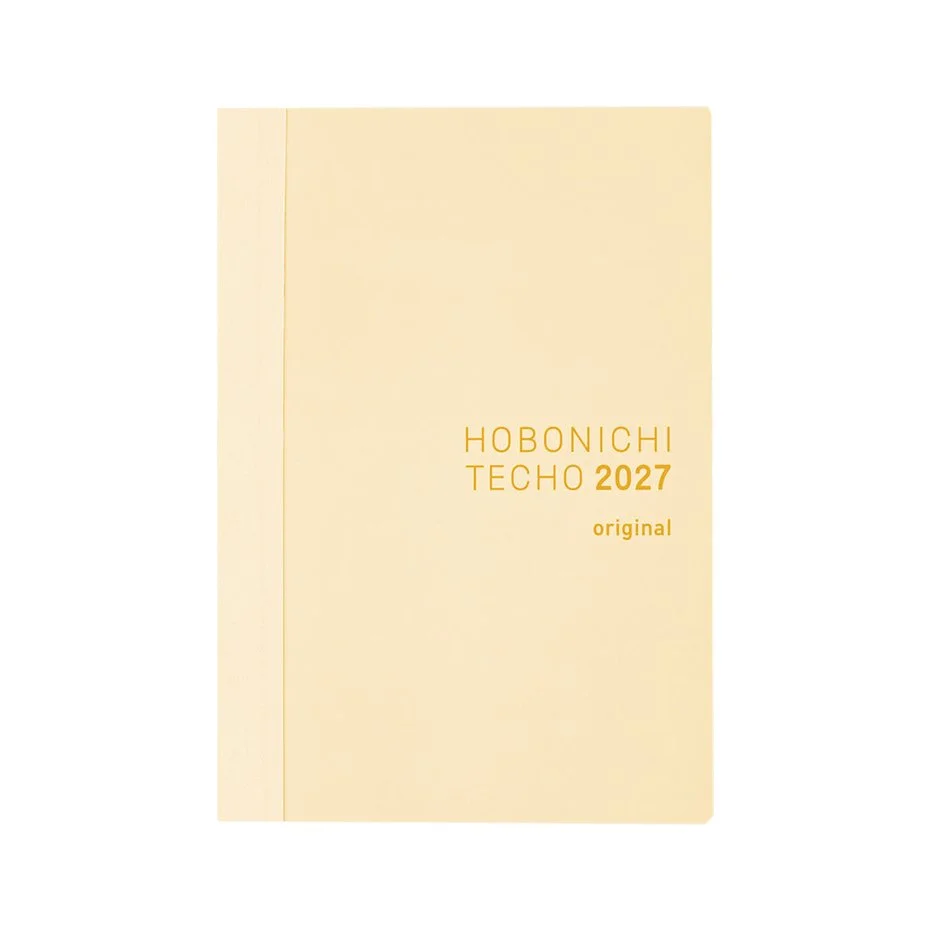
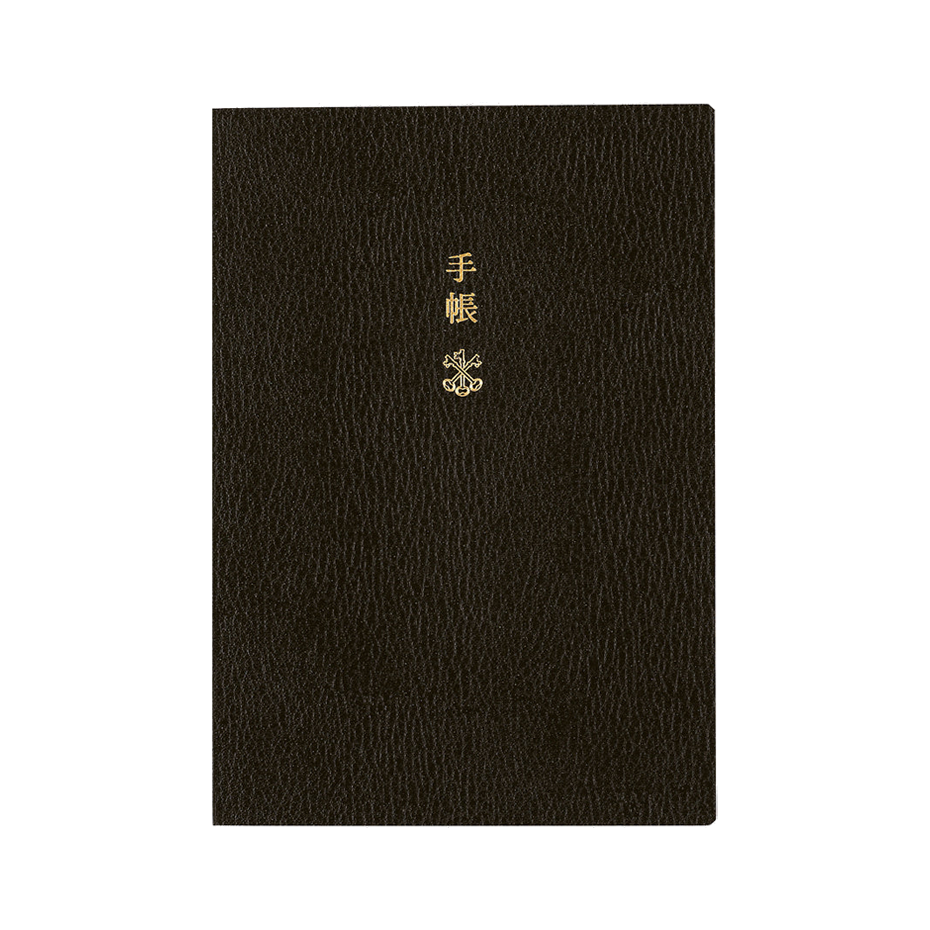
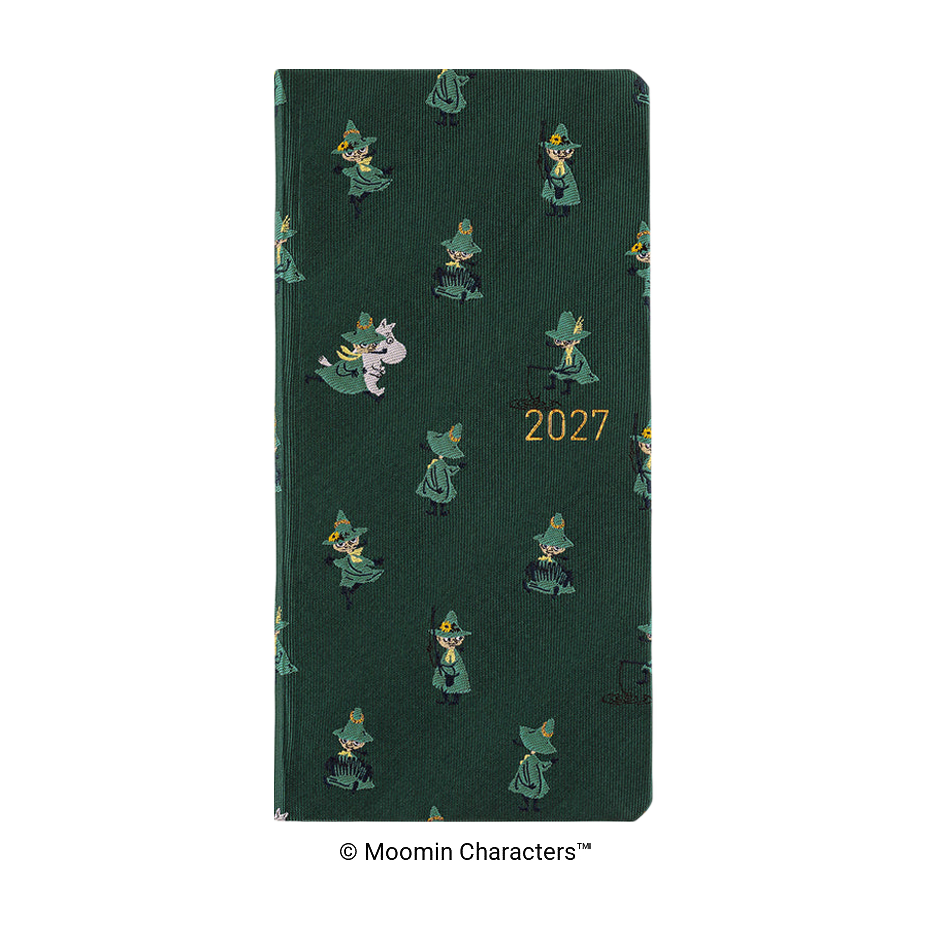
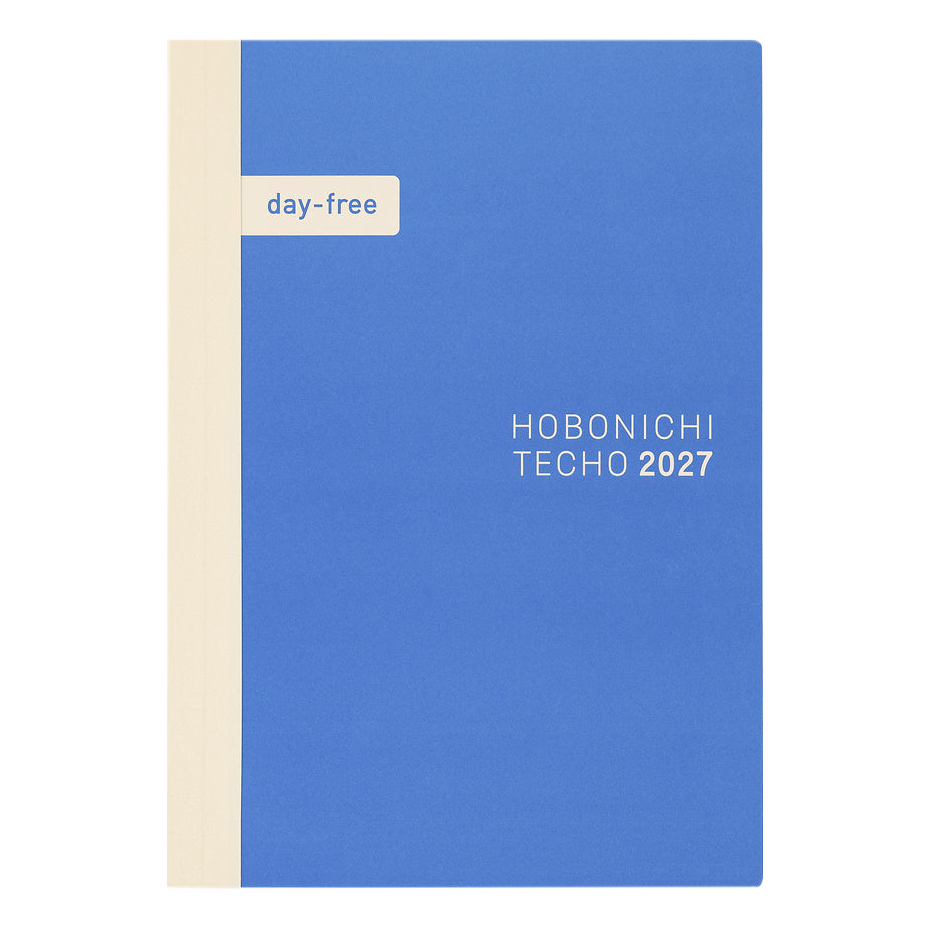
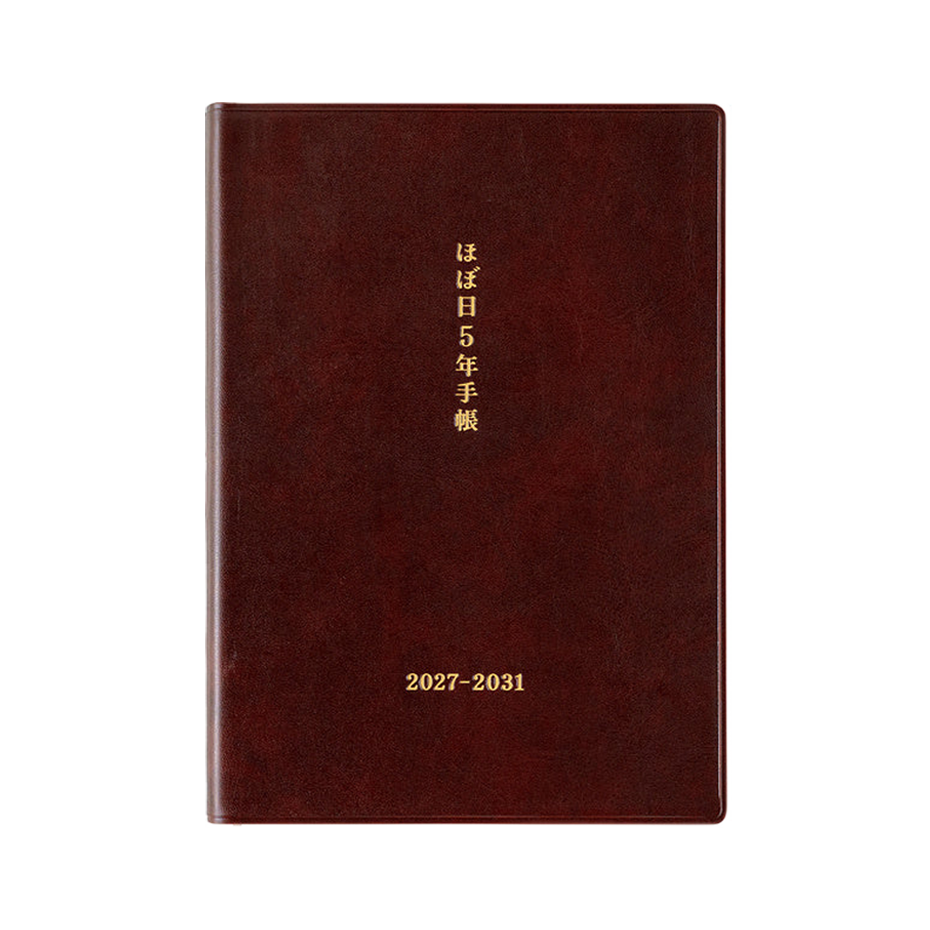
The first step is choosing a format that works with your everyday routine. Hobonichi offers several layouts, each designed for a different approach to planning, journaling, and keeping track of everyday life.
Hobonichi Cousin (A5)*: The Cousin offers more writing space with daily, weekly, and monthly layouts. It's ideal if you want to combine scheduling, journaling, and decorating with photos and stickers.
Hobonichi Original (A6)*: The Original is a compact daily planner with a full page dedicated to each date. It's a good option for daily journaling, memory keeping, and more detailed planning. Its smaller size also makes it easy to carry around.
Hobonichi HON (A5 & A6)*: The HON offers the daily layout of the Original or Cousin in a hardcover format. It's a nice option if you prefer a planner that feels complete right out of the box, without having to purchase a separate cover. A good choice for minimalists, too!
Hobonichi Weeks* (my favorite!): The Weeks is a slim, portable planner with a monthly calendar and weekly layouts. It's a great option for keeping track of appointments, tasks, reminders, and everyday notes without carrying a bulky planner.
Hobonichi Day-Free (A5 & A6)*: The Day-Free combines monthly calendar pages with blank graph pages instead of dated daily pages. It's a flexible option for someone who wants a calendar for scheduling but prefers to use the remaining pages for notes, lists, journaling, or whatever they need.
Hobonichi 5-Year (A6)*: The 5-Year is designed for long-term memory keeping. Each date has space to write a little about your day, with five years of entries sharing the same date spread. It's a lovely option for documenting everyday moments and looking back on how life changes over time.
If you're unsure where to start, I'd recommend the Weeks if you prefer a compact and straightforward planning system. It's the format I use, and I've found that its combination of monthly, weekly, and blank notes pages gives me plenty of flexibility.
You can read my full Hobonichi Weeks review for a closer look at the planner and how I use its different pages.
*Affiliate Disclosure: This post contains affiliate links. As an Amazon Associate I earn from qualifying purchases. I may earn a commission if you purchase through my links, at no additional cost to you.

Protect Your Planner with a Clear Cover
If you plan on carrying your Hobonichi around, a clear protective cover is worth every penny. This is a nice addition, but not something you absolutely need.
There are dupes out there, but I recommend the official Hobonichi Clear Cover* because it fits perfectly and protects the outside of your planner while still allowing the original cover design to show through. It also includes pockets and a closure tab that you can add a Velcro dot* to if you prefer keeping your planner closed.
It's one of those accessories that seems small but makes a difference, especially if your planner goes everywhere with you.
Find YOUR Writing Pen
After choosing your Hobonichi, picking out a pen is probably the next most exciting part of building your starter kit! It's also one of the most important tools you'll use. Hobonichi planners are made with Tomoe River paper, a lightweight paper that's particularly well suited for fountain pen ink.
There are plenty of options, but I'd start with one pen that feels comfortable and works well with your handwriting.
A few recommendations:
Pilot Kakuno*: A great beginner-friendly fountain pen with a comfortable grip and an approachable price point.
Kaweco Sport*: A pocket fountain pen that's easy to carry with your planner.
Tom's Studio Wren: A refillable everyday pen for someone who enjoys a more versatile writing experience. You can use the promo code: IZZAWEIHAAS to receive 10% off all products, with a minimum purchase of £30.00 or more.
Uni-ball Zento*: My pick for an everyday gel pen. It has a comfortable grip and smooth, consistent ink flow. It's literally perfect in either 0.38mm or 0.5mm.
No matter which Hobonichi format you use, I'd recommend a fine or extra-fine fountain pen nib, especially if you like keeping your writing small and tidy. The smaller grid spaces can make broader nibs feel a little cramped.
Selecting a Fountain Pen Ink
When choosing fountain pen ink for your Hobonichi, I'd recommend starting with softer, more muted colors. Tomoe River paper is thin, so darker or highly saturated inks can show through to the other side of the page (aka, ghosting 👻). Muted shades can help keep your pages looking a little lighter and less visually busy.
One thing to keep in mind is that most fountain pen inks are not water-resistant. Even a little water can cause your writing to smear so keep that in mind if you are using a fountain pen in your Hobonichi. If you’d like more durability, Diamine Forever inks are water-resistant/waterproof and come in some unique colors.
Choose a Highlighter or Secondary Pen
If you like keeping different types of information organized, a second writing tool can be really helpful. I like using muted highlighters to separate categories for daily tasks and projects, or to highlight important reminders.
Zebra Mildliners* are a great option because they come in a variety of muted colors. You can also purchase them individually from most stores so I'd recommend starting with one or two colors rather than purchasing an entire set. You really don't need all of them!
Keep a Few Organizational Tools Nearby
Beyond your planner and writing tools, a few small accessories can make everyday planning easier.
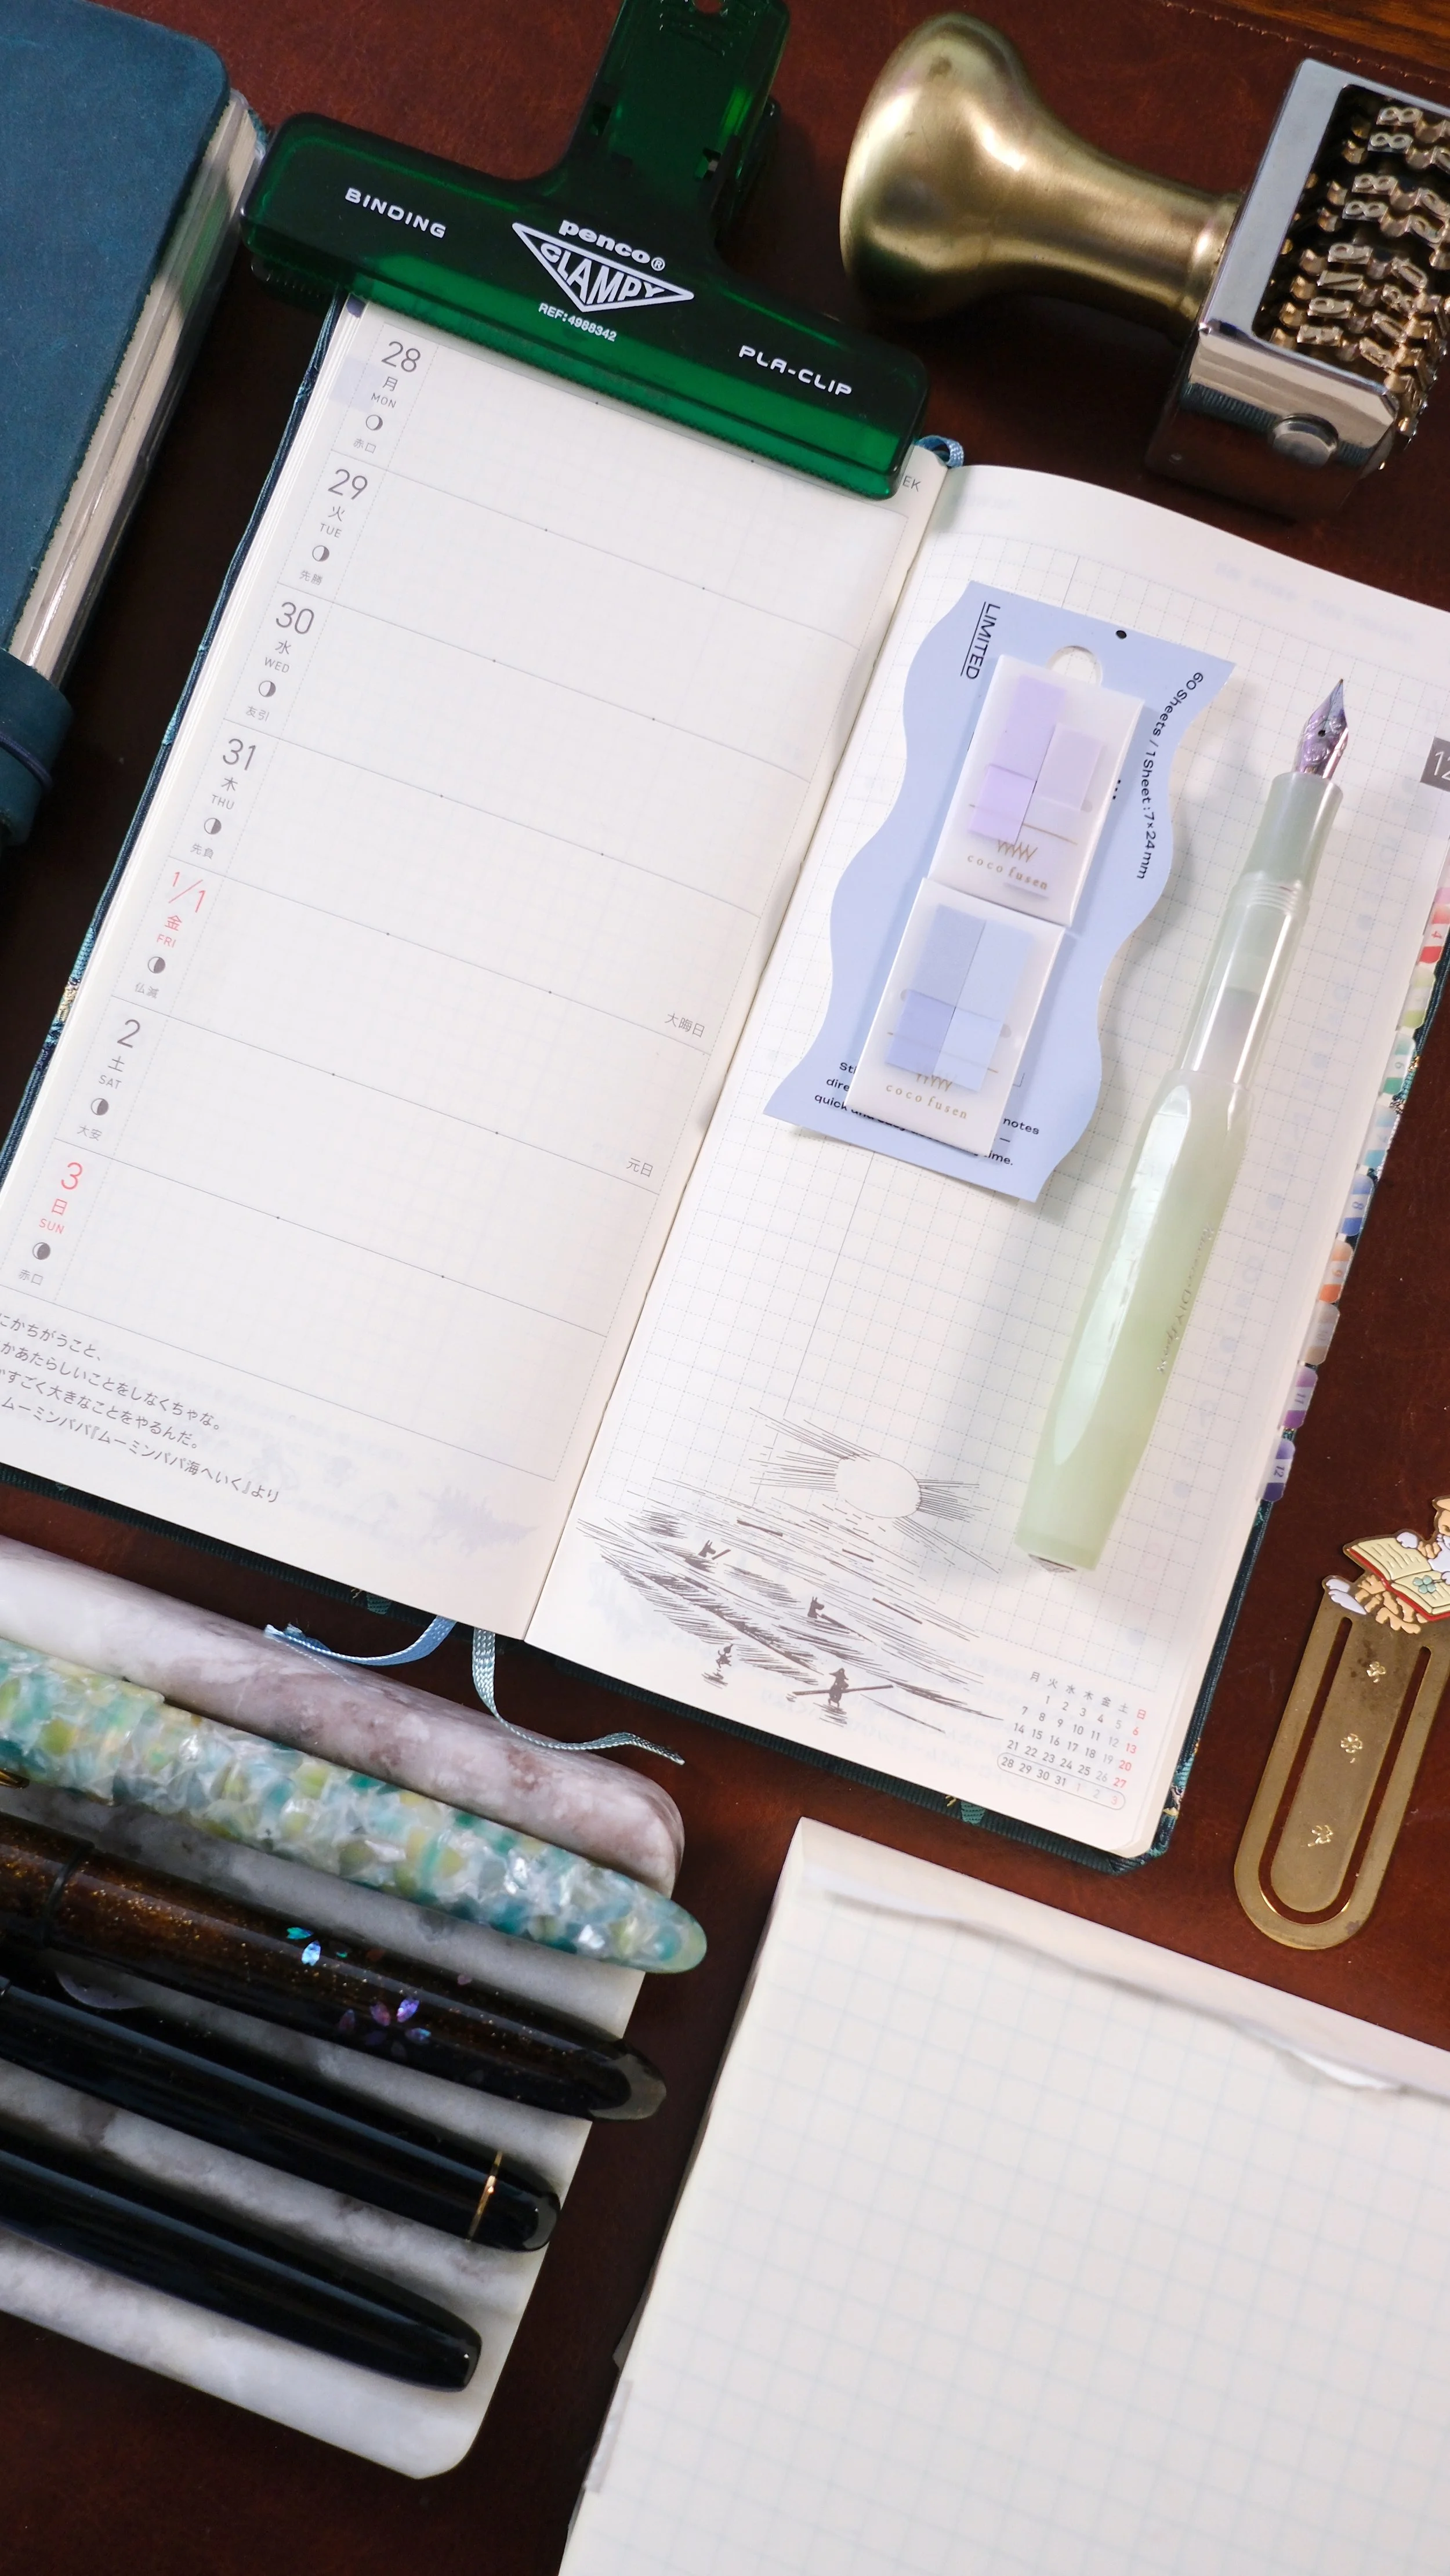
Sticky Notes: Useful for temporary reminders, lists, and information you might need to move around. I prefer translucent sticky notes that don't take up too much room or distract from the page. Coco fusens are my fav*.
A Ruler: A ruler can come in handy for drawing dividers, creating simple layouts, or keeping handwritten notes organized. I like to use a brass ruler* or transparent ruler* and have a few laying around my desk at all times.
Brass Index Clips*: These are great for marking your current week, monthly pages or sections you find yourself flipping back to often. They're small, functional, and add a little something to your planner without taking up much space.
These are all optional additions. I'd recommend using your planner for a little while before deciding which accessories would actually improve your routine.
Start Simple, Add as You Go
One of the things I enjoy most about using a Hobonichi is having a dedicated place for the everyday details of my life. It's somewhere to keep track of appointments, make notes, document small moments, and give my thoughts a little more room.
It's easy to get caught up in all the accessories and possibilities, especially when you're starting a new planner. But you really don't need much to get going.
Start with a planner you love, a couple of pens you enjoy writing with, and a few useful tools. Figure out what works for you and build from there. The best Hobonichi setup is the one you'll actually use!
*Affiliate Disclosure: This post contains affiliate links. As an Amazon Associate I earn from qualifying purchases. I may earn a commission if you purchase through my links, at no additional cost to you.


Starting your first Hobonichi? Here's a minimalist starter kit with planner recommendations, fountain pens, inks, highlighters, and useful accessories.